REVIEW · LONGYEARBYEN
Svalbard: Northern Lights Photography Tour with local expert
Book on GetYourGuide →Operated by See & Explore · Bookable on GetYourGuide
Auroras look better when you plan for them. This Svalbard tour mixes real photo coaching with actual driving time to hunt for clearer skies, so you are not just waiting and hoping. I also like the hands-on camera setup help, especially if you are new to long exposures. The one drawback: there is never a guarantee you will see aurora, because weather and solar activity still call the shots.
You’ll start with pickup in Longyearbyen (by blue van) and spend the evening chasing the best conditions above the Arctic, where light pollution is minimal. If you’re visiting during polar night, you may also get aurora in daytime hours when the sun never really shows up the normal way. Fast-changing forecasts are part of the deal here, so the tour is built around flexibility, not certainty.
In This Review
- Key Things That Make This Tour Worth Your Time
- Why Svalbard Is a Top Stage for Northern Lights Photos
- Getting From Your Hotel to the Darker Skies (Without Losing the Night)
- The Photo Game Plan: Camera Setup and Tripod Time
- The Aurora Hunt Route: Valleys, Port Stops, and The Vault Area
- Cold-Weather Reality: What to Pack So You Can Actually Shoot
- Polar Night Bonus: Aurora in Nighttime and Daytime
- Price and Value: Is $204 Fair for a 4-Hour Photo Tour?
- Who Should Book This (and Who Might Want a Different Plan)
- Should You Book This Svalbard Northern Lights Photo Tour?
- FAQ
- How long is the Northern Lights photography tour?
- What’s the group size?
- Will the guide help me set up my camera?
- Do I get picked up from my hotel in Longyearbyen?
- Can I guarantee I’ll see the Northern Lights?
- What should I bring for the tour?
Key Things That Make This Tour Worth Your Time
- Small group up to 8 people, so you get attention instead of camera advice shouted across a crowd
- Hotel pickup in Longyearbyen, with a scheduled window and a clear where-to-wait plan
- Camera preparation help, including setup guidance for aurora-style low light shots
- A guide who actively searches, not a one-spot “watch and hope” approach
- Night and daytime aurora potential during polar night, when darkness stretches longer
- A chilled-but-productive outing, with cold-weather reality built into the plan
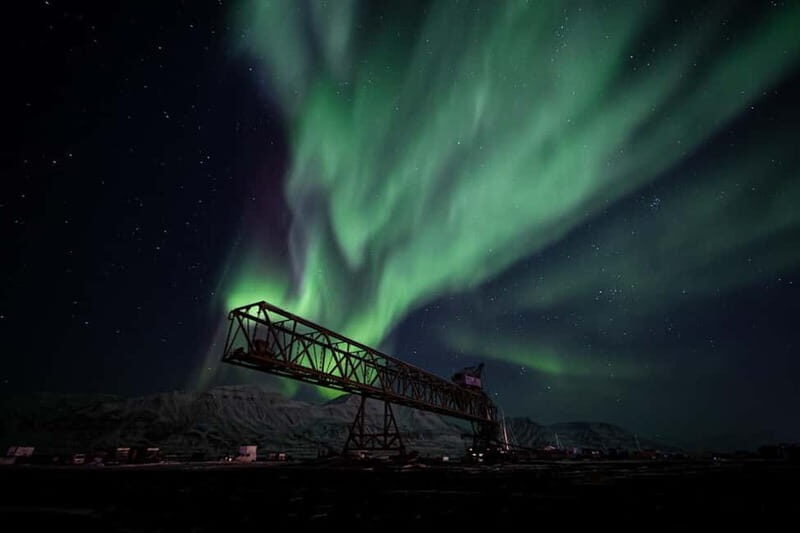
Why Svalbard Is a Top Stage for Northern Lights Photos
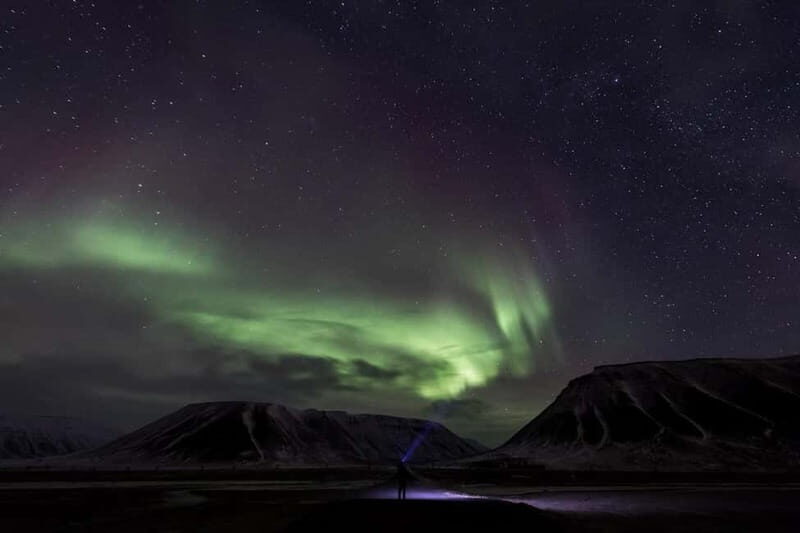
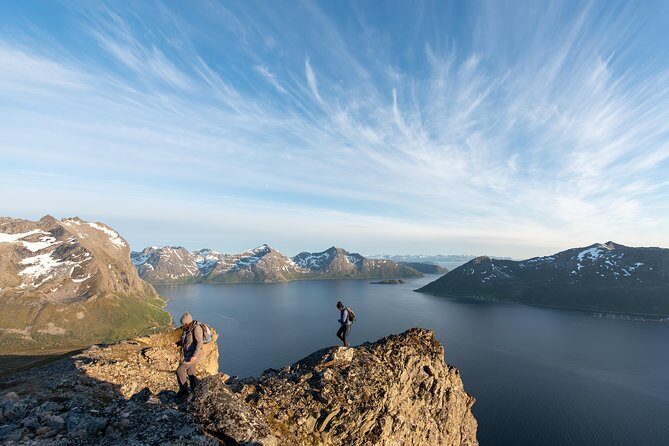
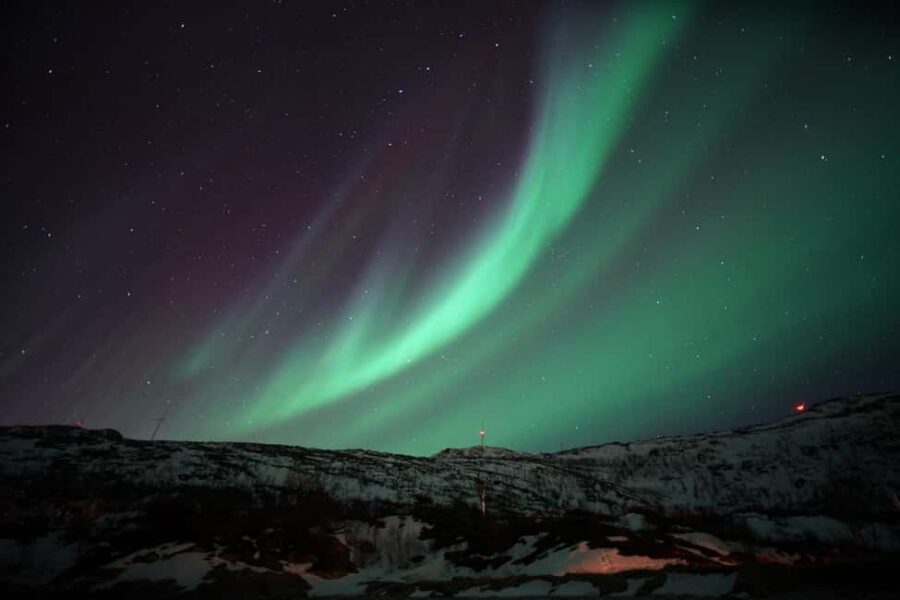
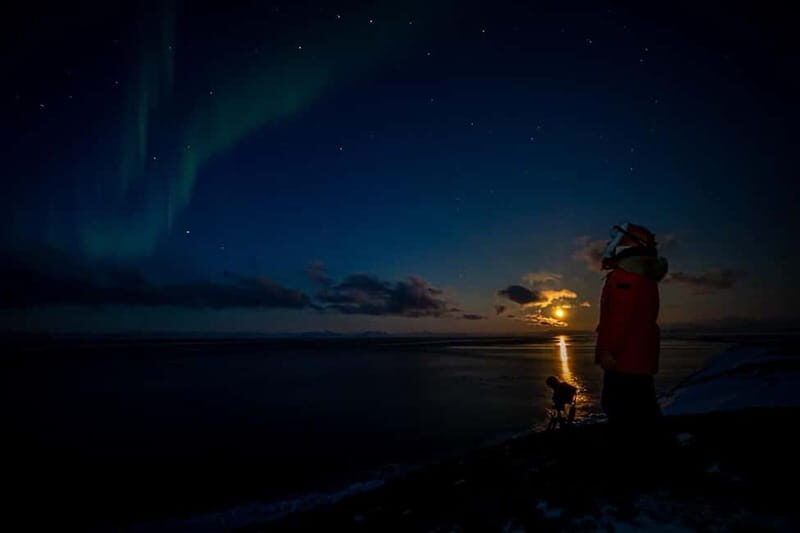
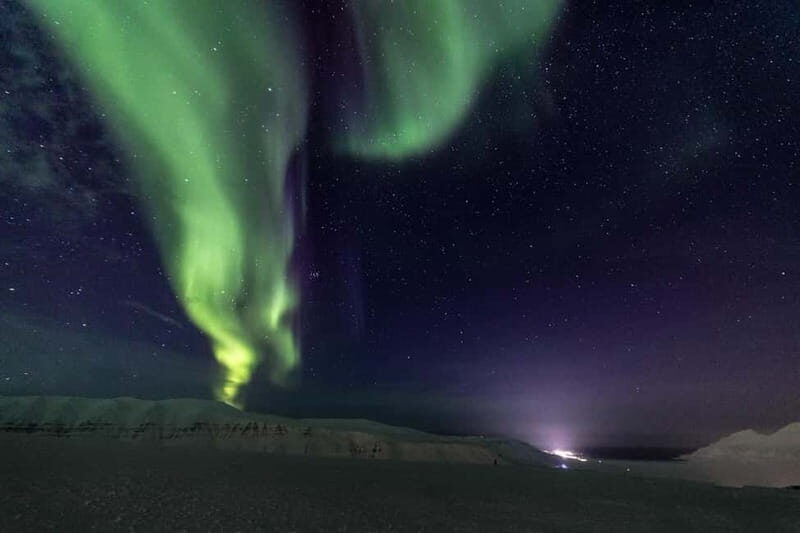
Svalbard is one of those places where the sky actually feels like the main event. Long stretches of darkness, low light pollution, and a location far from big city glow give you a better shot at seeing the aurora clearly and photographing it with less interference.
What matters for your photos is not just aurora visibility. It’s also sky clarity. When conditions line up, you get crisp contrast: stars, faint aurora curtains, and the Arctic scene below. When conditions don’t line up, the tour still tries to put you in the best possible place, which is why having a mobile guide matters so much.
Also, keep your expectations tuned to how aurora works. You can’t force the lights. The tour is designed to improve your odds by chasing areas that may have clearer skies, but clear weather and aurora activity both need to happen.
You can also read our reviews of more photography tours in Longyearbyen

Getting From Your Hotel to the Darker Skies (Without Losing the Night)
Pickup in Longyearbyen is one of the smoother parts of the experience. You are collected from several hotels by a blue van, and the plan starts a few minutes before the official tour time. Practically speaking, that means you are not wandering around in the cold trying to find the right group.
A couple details are worth noting:
- You’ll wait outside your hotel. You will want your warm layers ready because time moves quickly in winter darkness.
- Pickup is not at Airbnb addresses, so if you booked an apartment, make sure you know the nearest qualifying hotel pickup spot.
This matters because Northern Lights photography is timing-sensitive. You want to be out where the sky is dark before the best window closes. The tour’s structure supports that by getting you moving early.
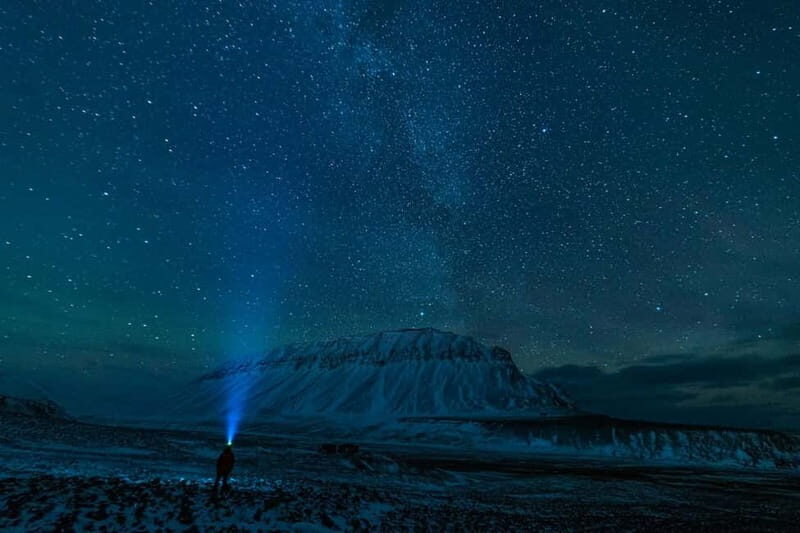
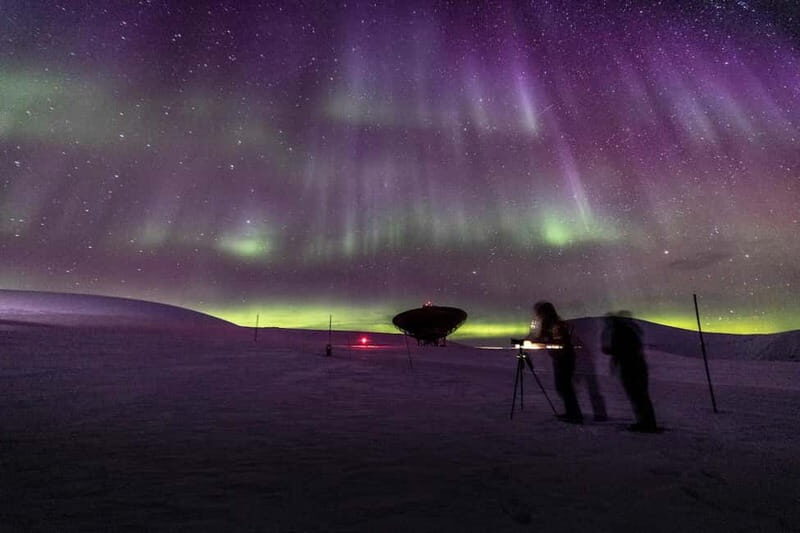
The Photo Game Plan: Camera Setup and Tripod Time
The tour is explicitly photo-focused, and that’s where the value shows up. Instead of treating the aurora like a sightseeing bonus, you get guidance to set your camera up for low-light work.
Here’s how this typically helps you as a photographer:
- You spend less time fiddling with settings in the cold.
- You learn how to stabilize your frame (that’s where a tripod becomes non-negotiable if you want sharp results).
- You get practical help adjusting your setup as you see what the sky is doing.
You should bring your camera, a charged smartphone (useful for backup shots, reference, or checking settings), and a tripod. The tour also includes preparation and setup assistance, which is great if you have never tried aurora photography before.
One small but important mindset shift: aurora photos often reward patience and consistency more than quick bursts. When you have your tripod locked, your camera settings dialed, and your guide is watching the sky for changes, you can stay ready rather than constantly re-starting your setup.
If you are using a phone-only approach, it can still work for casual shots, but you will likely get more satisfying results with a real camera and proper stabilization.
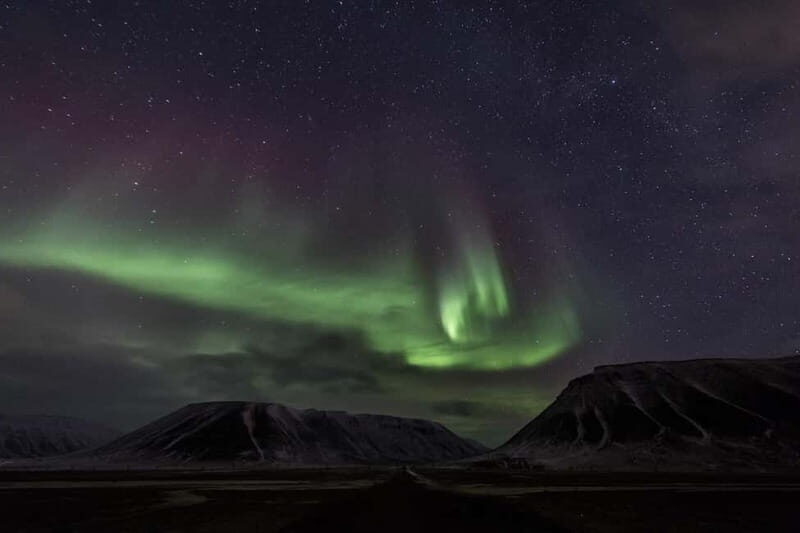
The Aurora Hunt Route: Valleys, Port Stops, and The Vault Area
The core of this tour is mobility. The guide drives around to find good spots and better views of the sky. You might notice the driving plan takes you through valleys and past different Longyearbyen areas, including toward the port and toward The Vault area. That variety isn’t random. It’s about finding cleaner angles, darker surroundings, and compositions where aurora can show up well against the Arctic night.
In one example, a guide named Tommas was praised for spending real time finding the best spots, and the result was an outstanding aurora experience. That kind of effort is what you want: not just movement, but smart movement.
You’ll also likely get small moments that make the cold easier to manage while you’re waiting for the sky to cooperate. One highlight from the experience described by guests was a stop where hot drinks were prepared at a valley viewpoint, while everyone stared up at the same sky trying to catch the lights. It sounds simple, but it changes your stamina—and your willingness to keep shooting when the first minutes are slow.
Because weather can shift fast, the route can feel like chasing odds. But that is the point: aurora photography isn’t a fixed check-list. A good guide helps you respond when the sky gives you a chance.
Cold-Weather Reality: What to Pack So You Can Actually Shoot
If you come prepared, the cold becomes manageable. If you don’t, it becomes the main character.
You’ll want:
- Warm clothing (think layers, not one heavy coat)
- A camera ready for cold temperatures
- A tripod for stability
- A charged smartphone
Don’t underestimate how quickly hands go numb when you are adjusting a tripod or reaching for camera controls. The tour itself can’t keep your fingers warm, so your layering strategy matters more than you expect.
Also remember that the experience includes time outdoors under Arctic skies. Smoking and alcohol/drug use are not allowed, which is good policy for safety and comfort in cold conditions.
And one more practical note: even if forecasts look promising earlier in the day, Longyearbyen weather can turn. I treat that as normal here, not as a failure. The tour is built to handle that swing.
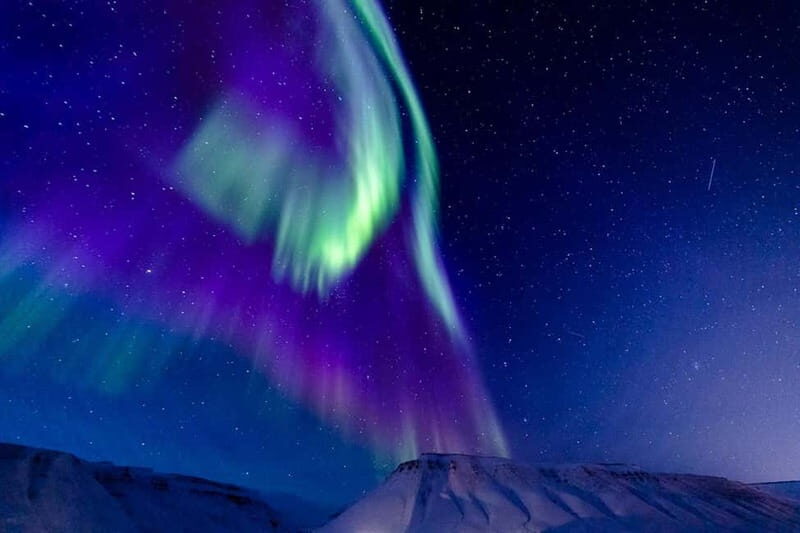
Polar Night Bonus: Aurora in Nighttime and Daytime
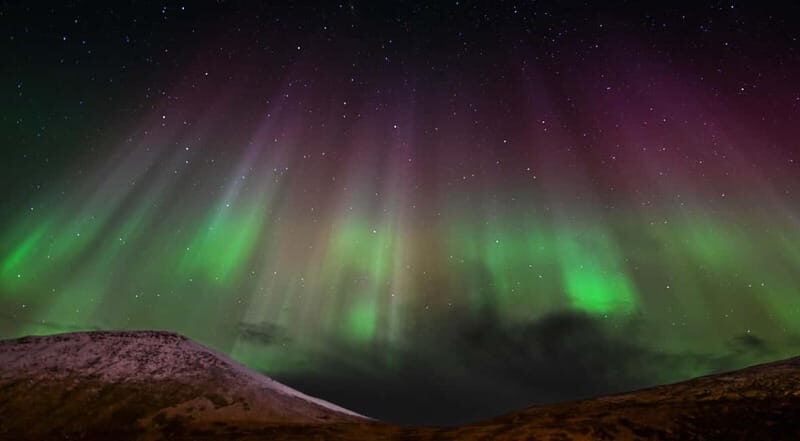
During winter’s polar night, Svalbard can get dark in a way that feels almost unreal. The provided context is that polar night means darkness lasts for all day, opposite the bright midnight sun in summer.
Why you should care: it changes how your aurora chances can look. You might experience aurora in both nighttime and daytime hours during winter. That gives the tour a slightly different rhythm than many aurora trips elsewhere, where the hunt is only after full dark.
Still, the big caution stands: seeing aurora depends on clear weather and the sun delivering aurora activity. So while daytime viewing is possible in polar night, it’s not something you can count on.
Price and Value: Is $204 Fair for a 4-Hour Photo Tour?
At $204 per person for about a 4-hour outing, you are paying for three things that are hard to DIY:
- Hotel pickup and drop-off across Longyearbyen
- A skilled photographer guide focused on camera setup and spotting good areas
- Transportation to multiple potential aurora-viewing spots
If you tried to recreate this on your own, you would still need a plan for timing, dark-sky locations, and basic aurora photography setup. Even if you own the camera gear, the local expertise reduces wasted time and helps you avoid the most common beginner traps (like shaky images from forgetting to stabilize).
This isn’t the cheapest way to do northern lights. But for a small group with photo coaching and real driving time, it usually lands in the fair-value category—especially if you are serious about getting more than blurry green streaks.
Who Should Book This (and Who Might Want a Different Plan)
This tour is a strong fit if you:
- Want Northern Lights photography help, not just aurora viewing
- Have a camera (and ideally a tripod) and want to learn setup basics quickly
- Prefer a small group where guidance feels personal
- Like the idea of driving to chase conditions rather than waiting in one place
It’s not a good match if you:
- Need a family-friendly option for young kids (it is not suitable for children under 6)
- Are hoping for a guaranteed aurora show (nobody can promise that)
If you are a total beginner with no tripod, you can still show up, but bring the gear the tour recommends so you get the full payoff of the coaching.
Should You Book This Svalbard Northern Lights Photo Tour?
If your top priority is improving your odds of good aurora photos, I’d book it. The combination of small-group attention, hotel pickup convenience, and camera setup help addresses the biggest friction points of aurora photography: getting there fast, staying ready, and shooting correctly in low light.
But book with one clear expectation: it is a hunt, not a guaranteed light show. If you can handle the reality that clear skies and aurora activity are not controllable, you’ll likely enjoy the experience even on nights with partial results—because the guide’s job is to keep you in the game.
FAQ
How long is the Northern Lights photography tour?
The duration is listed as 4 hours.
What’s the group size?
The tour is limited to a small group of up to 8 participants.
Will the guide help me set up my camera?
Yes. The tour includes guidance by skilled photographer guides, along with preparation and setup assistance for your camera.
Do I get picked up from my hotel in Longyearbyen?
Yes. Pickup and drop-off at your hotel are included, and pickup starts about 5 minutes before the tour begins. Pickup is not offered at Airbnb addresses.
Can I guarantee I’ll see the Northern Lights?
No. Northern lights sightings cannot be guaranteed, and conditions depend on clear weather and aurora activity.
What should I bring for the tour?
Bring warm clothing, your camera, a charged smartphone, and a tripod.