REVIEW · LONGYEARBYEN
Longyearbyen: Historic Coal Mine Tour at Gruve 3
Book on GetYourGuide →Operated by Store Norske Gruve 3 AS · Bookable on GetYourGuide
Longyearbyen’s coal mines are history with boots on. On this Gruve 3 tour, you walk through disused workings and hear what life was like for miners in the northernmost settlement in the world. I like how the guide connects the dots between town life, the technology used underground, and the sheer physical reality of the job.
Two things I especially like: the chance to crawl and walk inside the actual tunnels, not just look at photos, and the way the tour blends mining history with Svalbard’s broader survival story. You also get to see old equipment left behind in workshops, which makes the whole place feel more like an industrial time capsule than a museum.
One consideration: this isn’t an easy stroll. The route includes uneven ground and tight spaces, and it is not suitable for claustrophobia or mobility limits, because you may have to get low and crawl.
In This Review
- Quick takes on Longyearbyen Coal Mine Tour at Gruve 3
- From the pickup to Mine 3: don’t wing it
- Global Seed Vault connections: Svalbard’s big storage idea
- Before you go in: helmets, headlamps, and the pre-mine talk
- Workshops and abandoned machinery: the industrial skeleton
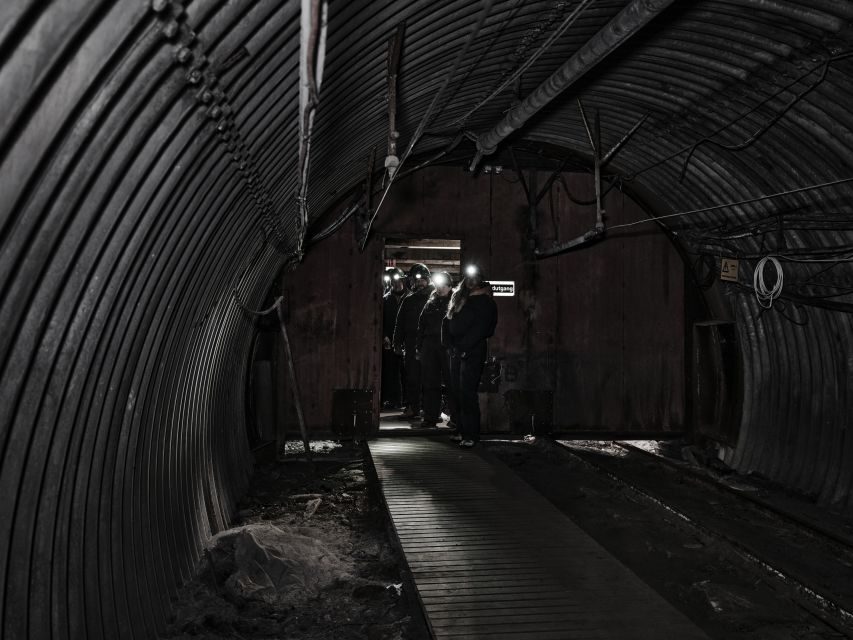
- Entering the main tunnel (1970s) and the long inner walk
- Thin-seam mining made real: crawling into production tunnels
- Stories that connect mine work to Longyearbyen life
- Safety and comfort: what to wear and how to pace yourself
- Price and value: what $120 buys you in Svalbard
- Who this tour fits best (and who should skip it)
- Small details that make a big difference
- Should you book Coal Mine 3 (Gruve 3)?
- FAQ
- How long is the Longyearbyen Coal Mine Tour at Gruve 3?
- Is hotel pickup and drop-off included?
- Do I get helmet and headlamp gear?
- What should I wear and bring?
- Is food or drink included?
- Will the tour include crawling or cramped tunnels?
- Is this tour suitable for claustrophobia?
- Is it wheelchair accessible or good for mobility impairments?
- Are alcohol and drugs allowed?
Quick takes on Longyearbyen Coal Mine Tour at Gruve 3
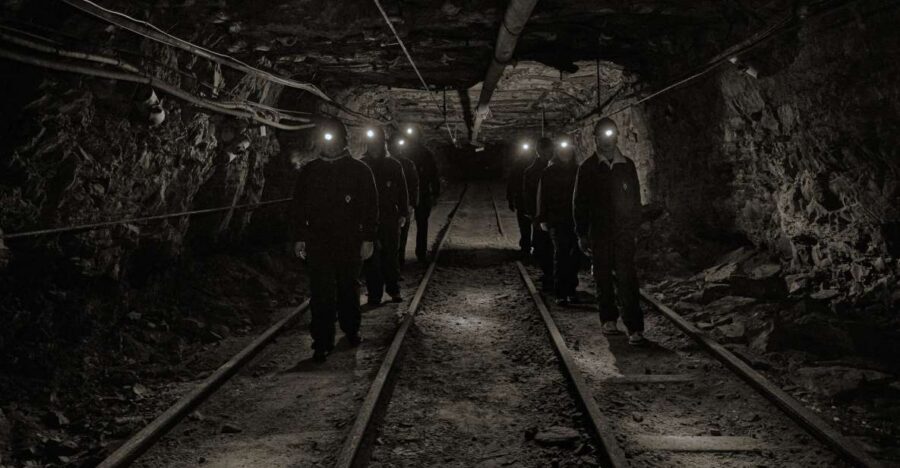
- Helmet and headlamp lighting gives you a realistic feel for working underground
- Global Seed Vault route: you pass the world-famous vault and hear how Mine 3 helped inspire it
- Workshops with abandoned machinery show what thin-seam mining left behind
- 1970s main tunnel and long inner walks make it more than a quick photo stop
- Optional low crawl (around 60 cm in one section) gives you a strong sense of the miners’ cramped conditions
From the pickup to Mine 3: don’t wing it
Start by picking the right meeting point. This tour includes hotel and guesthouse pickup across Longyearbyen, but they stress that you must choose your pickup location ahead of time. If you miss the pickup, you’ll miss the mine entry, so I’d double-check your chosen address and aim to be outside a few minutes early.
Once you’re collected, you drive out to Coal Mine 3. On the way, you’ll pass the Global Seed Vault, and the guide ties that detour to the area’s own seed-storage roots. The key idea you’ll hear is simple: storing seeds in permafrost can work without relying on electricity.
That route matters because it frames the day. You’re not only learning about coal. You’re also seeing why Svalbard turned into a place for long-term planning—whether that is energy extraction in the past or cold storage for the future.
You can also read our reviews of more tours and experiences in Longyearbyen.

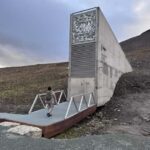
Global Seed Vault connections: Svalbard’s big storage idea
The story the guide shares is grounded in real timelines. You’ll learn that the first seed bank on Svalbard opened in Mine no. 3 in 1984. That’s the spark behind the later Global Seed Vault plan, built around using permafrost as a natural freezer.
Before you get underground, you’ll enter the facility and get your bearings. Expect maps showing Longyearbyen and Svalbard, plus context for how the town’s industrial and scientific roles overlap. It’s a smart start because it keeps the mine tour from feeling like a standalone attraction. You’re seeing how one remote place can host wildly different missions—mining then storage—both driven by cold, geology, and isolation.
Before you go in: helmets, headlamps, and the pre-mine talk
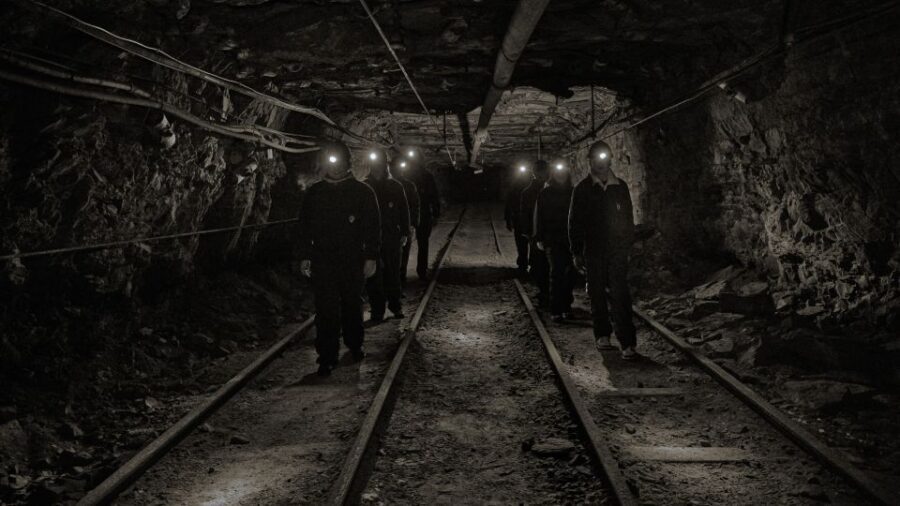
In the briefing area, you suit up with a helmet and headlamp. This isn’t just a safety requirement; it changes the experience. When you turn your light on in the tunnels, the darkness feels like it belongs there, which is the closest thing you get to the miners’ working conditions.
The guide gives you the basics before you start walking. You’ll hear about the town’s founding-era decisions and why men settled here roughly a century ago. Then the story narrows to coal: how it was extracted, what thin-seam production meant, and why Coal Mine 3 became important as the last mine in town where that thin-seam approach was used.
I like that the tour uses a model of the mine to explain extraction methods. It helps you understand why some tunnels are shaped the way they are. Without that, you’d just be looking at passageways. With it, you start to notice how the miners adapted to the coal seam itself.
Workshops and abandoned machinery: the industrial skeleton
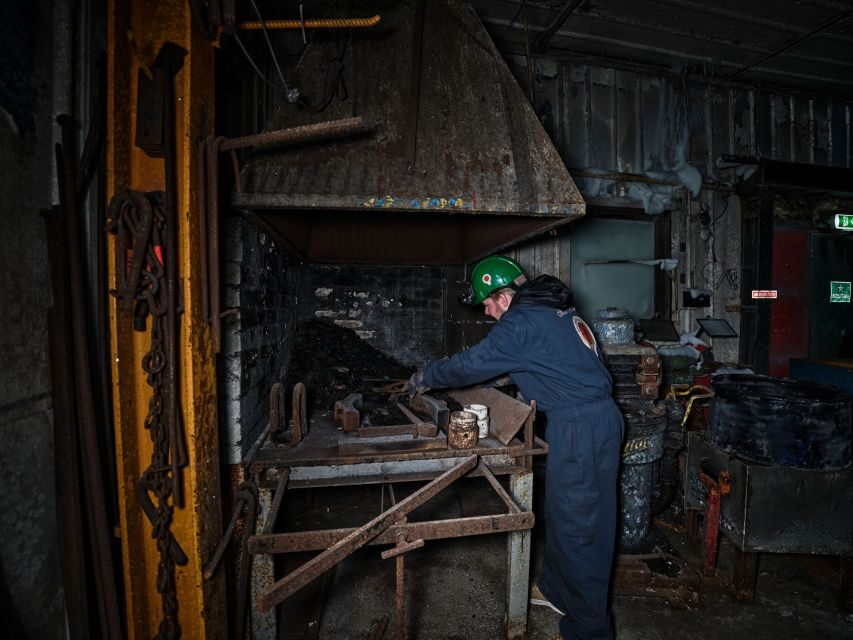
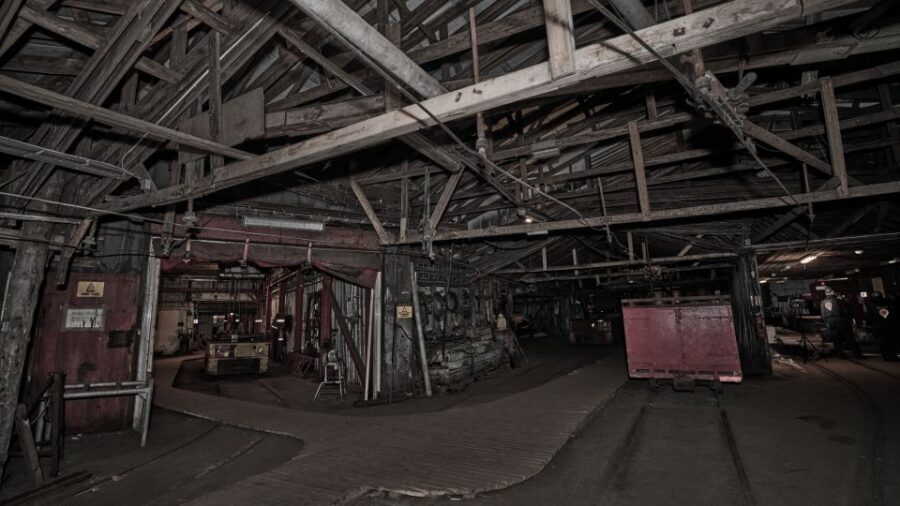
Before the deeper mine walking, you move through the workshops. This is where the tour becomes a real time capsule. You’ll see equipment and machinery left behind when the mine shut down in 1996, including older pieces that look built for work, not display cases.
This stop is worth your attention because you learn how mining wasn’t just men with tools. It was systems: gear, layout, and workflow. Even if you don’t catch every term the guide uses, you’ll get the visual logic. The room shows what was needed to keep production going when the environment was harsh and space was limited.
It also sets expectations for what comes next. After the workshop, walking toward the tunnels doesn’t feel like an activity change. It feels like you’re moving deeper into the same story.
Entering the main tunnel (1970s) and the long inner walk
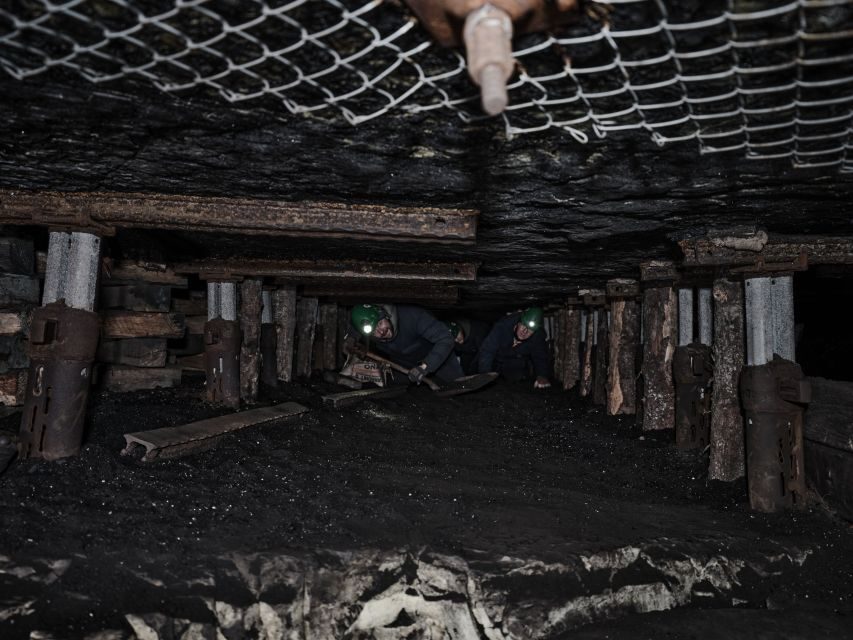
Now you head into the mine itself. You’ll walk into a main tunnel that was excavated in the 1970s, and that detail is easy to miss if you’re not paying attention. It tells you the mine was active into the later technological era, not just the distant past.
From there, the tour becomes more physical. You’ll walk almost 800 meters into the workings, and you’ll enter three different side tunnels. Those side tunnel visits matter, because they show how coal extraction spread through the underground network rather than happening in one single straight corridor.
I also like that the pacing builds. Early on, the guide gets you oriented and suit-up safe. Then you gradually transition from briefing space to real walking ground to narrower passages. If you jump straight into a tight tunnel without preparation, you’ll feel rushed. Here, you get a step-by-step lead-in.

Thin-seam mining made real: crawling into production tunnels
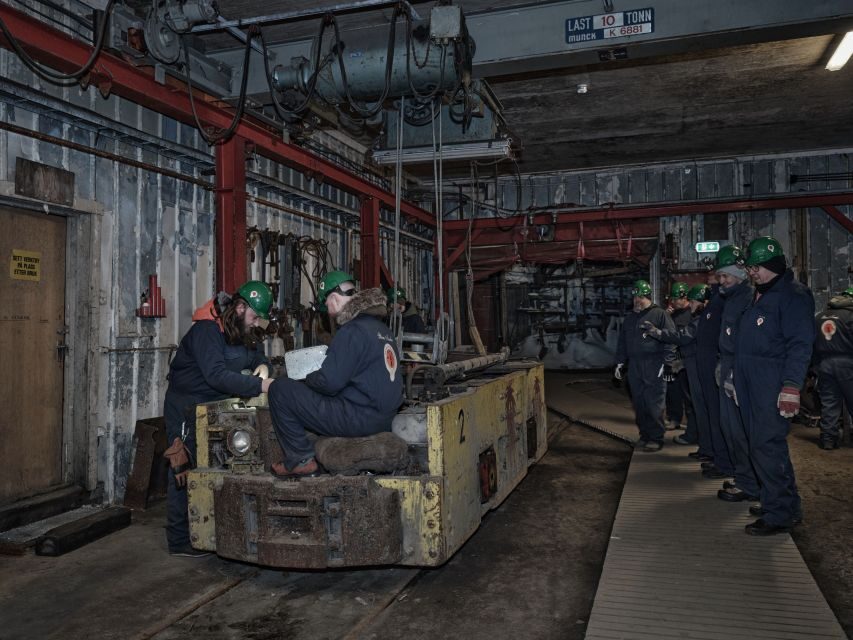
The signature feeling of Gruve 3 is the closeness. You don’t just observe. You move through the mine in a way that forces you to respect the working conditions.
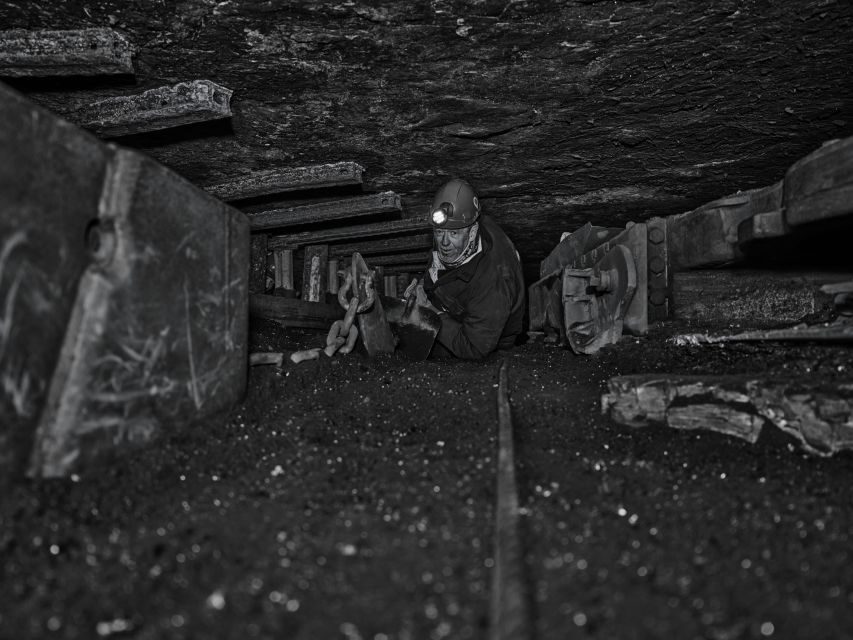
You’ll put on a miner’s overall, then crawl into an older production tunnel. Expect low ceilings and cramped space. This is where the tour earns its reputation as hands-on history, because you physically understand why posture and body strength mattered.
Some runs include an optional crawl into a very low stope section, around 60 cm high. That’s not for everyone. Even if you technically can do it, you’ll feel how much effort it takes to move through limited air and tight geometry.
This is also where the guide’s role really counts. Good guides keep you safe, explain what you’re seeing, and help you judge what you should attempt. In the better moments on this tour, you stop thinking of it as a walk-through and start thinking like a worker for a few minutes.
Stories that connect mine work to Longyearbyen life
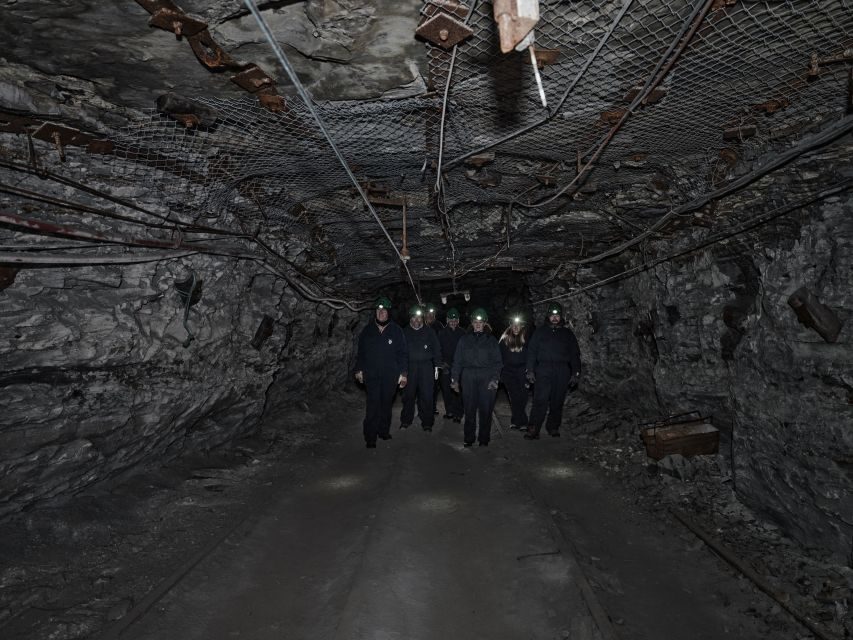
Underground is only half the point. The other half is why the town existed at all.
You’ll hear anecdotes from mining life and learn why Longyearbyen grew where it did. The guide also shares details about the risks and harsh conditions miners faced, paired with the practical realities of how the operation worked. Several guides bring personality and humor into the briefing, which helps the facts land without feeling like a lecture.
I’ve found that mine tours can sometimes focus only on machinery. This one keeps linking the human side back in: the daily rhythm, the dangerous environment, and the reason thin-seam techniques were necessary. The result is that you don’t leave with just trivia. You leave with a working sense of how people made a living in one of the hardest places on Earth.
If you care about the human side of industrial heritage, this is where the tour really sings—especially with guides such as Anders, Camilla, Caroline, Michael, Sophie, and others who use stories to make the mine make sense.
Safety and comfort: what to wear and how to pace yourself
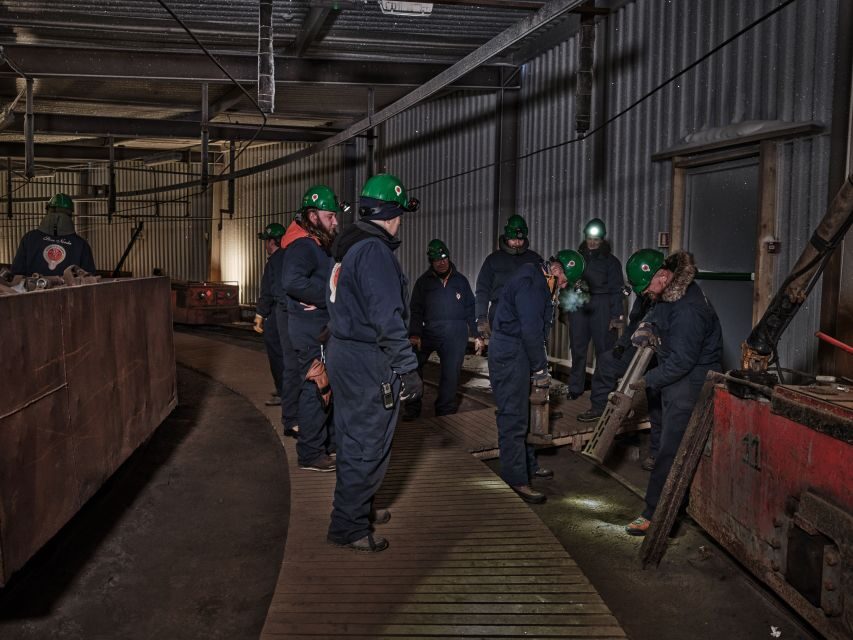
Warm clothing is not optional here. Underground at Svalbard can feel cold in a way that regular winter jackets aren’t always enough for. You’ll want layers you can move in, plus something that helps if you’re going to get low and crawl.
Also plan for uneven ground. The mine walk includes tie-like cross pieces and other rough surfaces underfoot. That’s fine for most people, but it becomes a bigger deal if you’re used to smooth urban paths.
You should also know the rules up front: alcohol and drugs are not allowed. You’re wearing safety gear and moving through a working-style environment, so keep it straightforward.
And yes, bring your patience. Even a 3-hour tour is long enough to feel it in your legs and core. But if you pace yourself and listen to the guide, the physical parts feel like the point, not a burden.
Price and value: what $120 buys you in Svalbard
At about $120 per person, this tour costs more than many city museum visits. But the value is in the parts that aren’t replicable: pickup in Longyearbyen, a guided visit to an actual disused coal mine, helmet lighting, workshop access, and real tunnel walking including side tunnels and low sections.
You’re also paying for specialized safety gear and trained guiding. The experience depends on correct route control, safe transitions between areas, and someone who can explain the mining logic while keeping the group moving.
The duration is around 3 hours total, with about 2.5 hours described as the guided mine portion. In practice, that’s a good length for this kind of activity. It’s long enough to feel like you’ve gone somewhere real, but short enough that you still have time afterward in Longyearbyen for other things like light hikes or town exploring.
Who this tour fits best (and who should skip it)
This works best if you want industrial history with physical involvement. If you like hands-on experiences, hearing firsthand-style stories, and seeing old machinery in context, you’ll likely feel it right away.
It’s also a strong choice for solo travelers who want structure. Pickup means you don’t have to sort transport on your own. And because the guide leads the entire flow, it’s easy to ask questions.
But skip it if you have mobility limitations, use a wheelchair, or have strong claustrophobia. The route includes walking on uneven ground and getting into cramped areas, with a crawl component that can be around 60 cm high in one section.
If you’re on the fence, think about how you handle tight spaces on a normal day. If that’s stressful, this mine tour will likely be stressful too.
Small details that make a big difference
A few things can make the difference between a good visit and a great one.
First, choose your pickup location carefully. Then show up on time. This tour runs on a schedule that assumes the group is together before heading out.
Second, wear warm layers and shoes you can trust on rough ground. You’ll be glad you did once you hit the tunnel sections.
Third, listen for the guide’s explanations about thin-seam mining. When you understand why the mine is built the way it is, the tunnel shapes stop looking random.
Finally, decide early how you feel about the optional crawl. You can still get a full sense of the mine without taking every tight route—safety first.
Should you book Coal Mine 3 (Gruve 3)?
Book it if you want a real Svalbard experience that goes beyond landmarks. This is one of those tours where you get helmet light, old machinery, workshop remnants, and actual underground walking plus tight passage crawling that changes your understanding in minutes.
Skip it if you need an accessible or spacious environment, or if claustrophobia is a real issue for you. In that case, the mine’s tight spaces and crawling requirements will likely outweigh the history.
If you’re traveling in winter, dress for cold and plan to feel it. If you’re traveling as a history-minded person who likes context—coal work, town origins, and why storage matters here—this one is worth your time in Longyearbyen.
FAQ
How long is the Longyearbyen Coal Mine Tour at Gruve 3?
The tour runs for about 3 hours total, including pickup, drive time, and the guided mine visit.
Is hotel pickup and drop-off included?
Yes. Pickup and drop-off are included, and you wait outside or right inside the main entrance of your chosen pickup location while the guide comes to find you.
Do I get helmet and headlamp gear?
Yes. You’ll be provided with a helmet and headlamp for safety.
What should I wear and bring?
Bring warm clothing. You’ll also need to be comfortable moving on uneven surfaces and in cold underground spaces.
Is food or drink included?
No. Food and drink are not included on this tour.
Will the tour include crawling or cramped tunnels?
Yes. You will put on a miner’s overall and crawl into an old production tunnel. An optional low crawl section is part of the experience for some visitors.
Is this tour suitable for claustrophobia?
No. It is not suitable for people with claustrophobia because of the cramped underground areas.
Is it wheelchair accessible or good for mobility impairments?
No. It is not suitable for people with mobility impairments or wheelchair users.
Are alcohol and drugs allowed?
No. Alcohol and drugs are not allowed.