REVIEW · GEIRANGER
Geiranger: Rappelling tour with epic view
Book on GetYourGuide →Operated by Explore Geiranger AS · Bookable on GetYourGuide
One climb, one cliff, and a view that feels unreal. This Geiranger rappelling tour mixes rope-skill work with a seriously dramatic lookout, then ends with long rappels back to town.
I like the way the route uses rope security so you’re not guessing where to put your feet. And I really like the small-group setup (max 6), because the guide can slow things down and teach you in real time—like keeping close by when it feels steep.
The main drawback is obvious once you’re there: you need arm strength for the steep rope sections, and the big rappel is exposed. You’ll be safe, but you’ll still feel the drop.
In This Review
- Key things to know before you go
- Where You Start: Dynamite Waterfall Office, Gear Pick-Up, and a Quick Safety Brief
- Jumar Climb With Rope Clamps: The Steep Part You Actually Feel in Your Arms
- Flydalsjuvet Viewpoint: Quiet Time at a Place Most People Speed Past
- From View to Vertical: The Warm-Up Rappel on the Introduction Wall
- The Main Event: Two 50-Meter Rappels Back Toward Geiranger
- Timing, Fitness, and What to Pack (So You’re Not Cold or Clumsy)
- Price and Value: Why $146 Feels Reasonable for This Much Technical Work
- The Guide Makes the Difference: Patient Coaching on a Tough Route
- Who Should Book (and Who Should Skip It)
- Final Call: Should You Book the Rappelling + Epic View Tour?
- FAQ
- FAQ
- Where is the meeting point for the tour?
- How long does it take to walk from the harbor to the guide office?
- What language is the instruction in?
- Is this a private group tour, and what’s the group size?
- What equipment is provided?
- Who is the tour not suitable for?
Key things to know before you go
- Meeting point by Dynamite Waterfall: meet at the Explore Geiranger guide office near the waterfall.
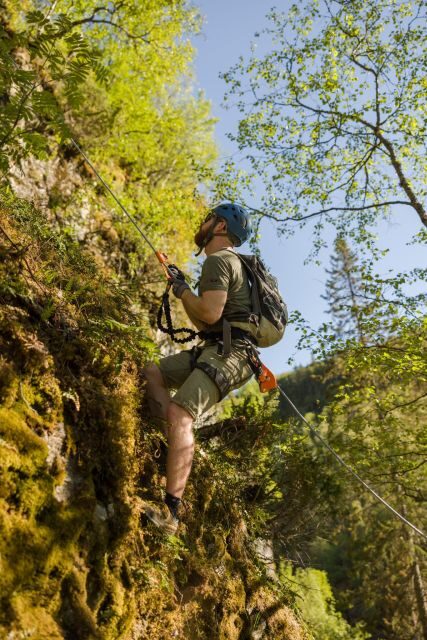
- Rope-clamped ascent: most of the hike has rope security and uses clamps to help you move up.
- Flydalsjuvet viewpoint time: you get the lookout with breathing room, not a crowd shuffle.
- A warm-up rappel: you practice on an introduction wall before the main vertical descent.
- Long rappels: the descent includes two 50-meter rappels, with plenty of air and exposure.
- Gloves and boots matter: gloves are required (available to buy), and sturdy hiking boots are a must.
Where You Start: Dynamite Waterfall Office, Gear Pick-Up, and a Quick Safety Brief
Your adventure begins at the guide office next to the Dynamite Waterfall. It’s an easy start point, especially if you’re already exploring Geiranger on foot. From the harbor, plan about a 15-minute walk to reach the office, and there’s no transport from the harbor for you—so wear shoes that work on outdoor paths.
Inside the office, the whole gear set comes to you. Everyone does the same flow: attend the safety brief, get fitted, and learn what each part of your harness and rope setup is doing. The tour is built around making sure you understand the system before any vertical work starts, which is exactly what you want when you’re strapping in and hanging over a canyon.
A small but important detail: this is set up as a private group experience with a maximum of six people. That matters. You’re not just receiving instructions—you’re getting feedback, corrections, and pace control from the guide.
You can also read our reviews of more tours and experiences in Geiranger.

Jumar Climb With Rope Clamps: The Steep Part You Actually Feel in Your Arms
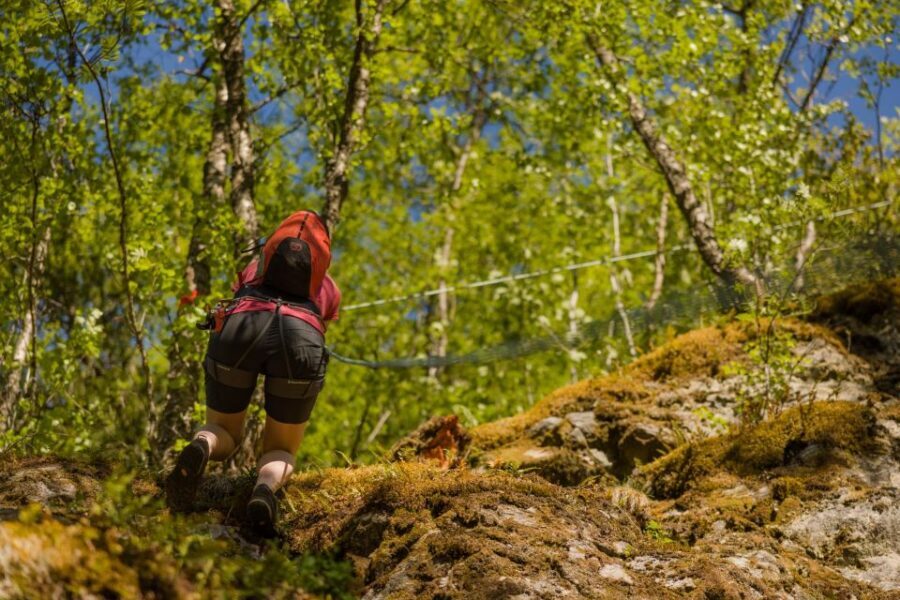
After gear and briefing, you start moving up through the forest toward the canyon viewpoint. Most of the hike comes with rope security, and you’ll use rope clamps to help you travel up steep sections. You’re not free-scrambling. You’re progressing along the rope system.
One of the tour’s most hands-on elements is the aid climbing using a jumar (a mechanical ascender). In plain terms: you lean into the system, place your hands where they belong, and use the rope setup to climb where ordinary hiking would be too steep or too risky.
This section is completely safe, but it’s not effortless. You need arm strength and grip strength to handle the movements and keep yourself stable. If you usually avoid “upper body effort,” treat that as your checklist item. You can still do it—just don’t show up expecting a light stroll.
As you climb higher, the view starts to build. The tour passes through dense forest first, then the canyon opens up. Even before you reach the main viewpoint, you get that classic Geiranger moment where the valley widens and the water plus cliffs start making sense as more than just scenery.
Flydalsjuvet Viewpoint: Quiet Time at a Place Most People Speed Past
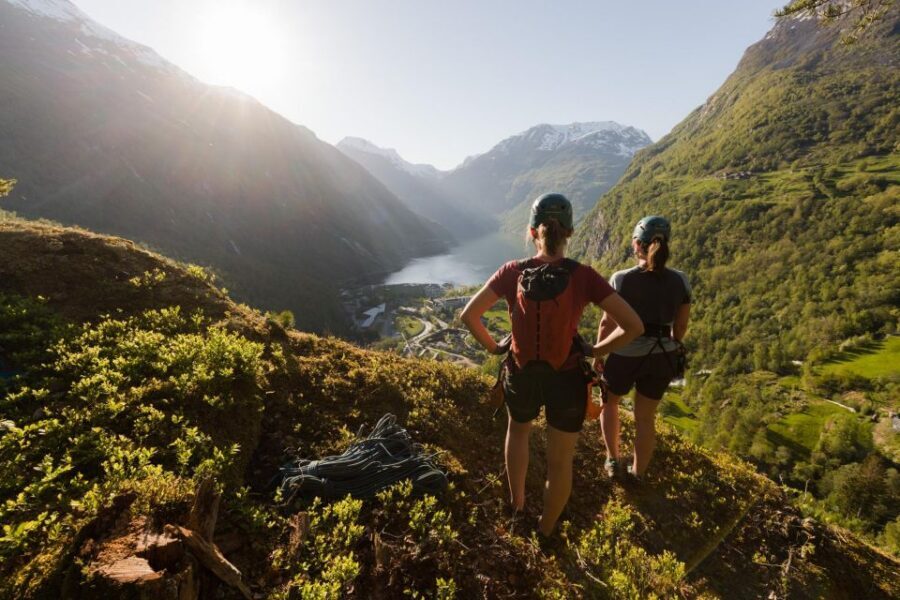
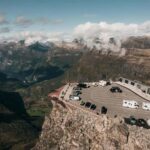
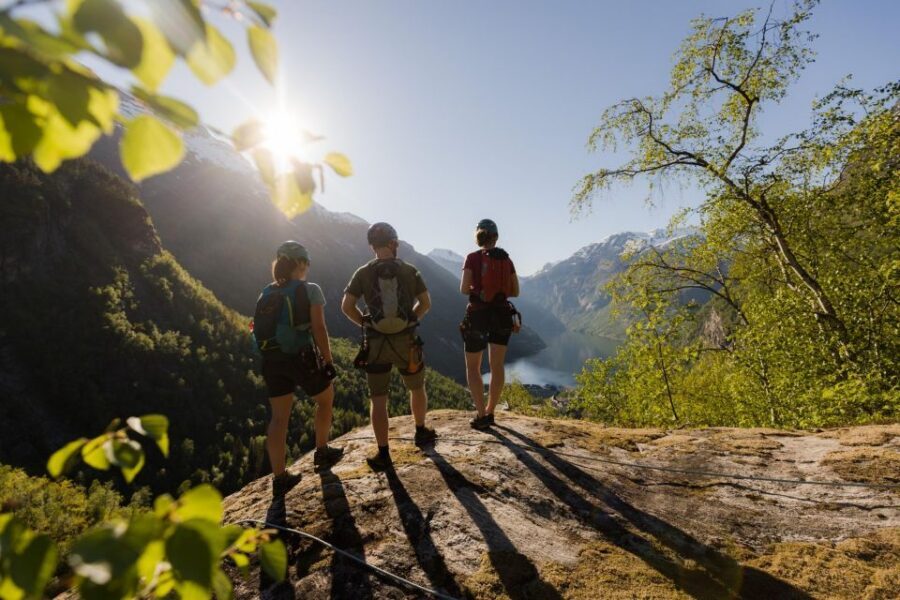
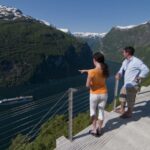
You’ll reach the Flydalsjuvet viewpoint as your payoff point. In summer, thousands drive to the canyon area every day, and the viewpoint can feel like a fast photo stop. On this tour, the whole idea is different: you get the dramatic overlook without being stuck in the usual crowd rhythm.
Once you’re up there, your guide shows you a secret path to a specific photo spot—an unusual angle where you can get a unique shot with yourself near the edge of the cliff. The point isn’t just photos. It’s also orientation. You’ll understand where you are, what you’re looking at, and what you’ll be rappelling down later.
After the photo moment, there’s time to rest. This pause is one of the smartest parts of the experience, because the next stage is vertical work. You want a few minutes to breathe, let your muscles reset, and take in the view before you switch from “climb mode” to “rappel mode.”
Eventually, the plan shifts toward the area near the Queen’s Chair, which becomes part of the return route down to the rappel section.
From View to Vertical: The Warm-Up Rappel on the Introduction Wall
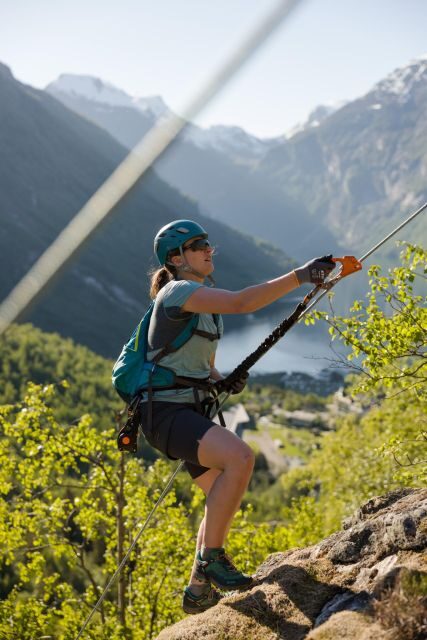
Before you go onto the big wall, the tour sets you up on an introduction wall. This is not just a safety thing; it changes your whole experience.
You’ll need to master the equipment first—learn how to control the descent and how your body and hands work with the system. The guide walks you through the movements and makes sure you can handle the basics before you face the full height.
This warm-up matters for two reasons:
- It turns fear into technique. Once you understand how the rappel controls feel, you stop thinking about the cliff and start thinking about your hands, your stance, and your control.
- It gives you confidence for the real descent. By the time you reach the vertical section, you’re not starting from zero.
You can also expect the view to stay dramatic during this phase. Even when you’re learning, you’re still in front of a huge, exposed drop—so being taught step-by-step is a real comfort.
The Main Event: Two 50-Meter Rappels Back Toward Geiranger
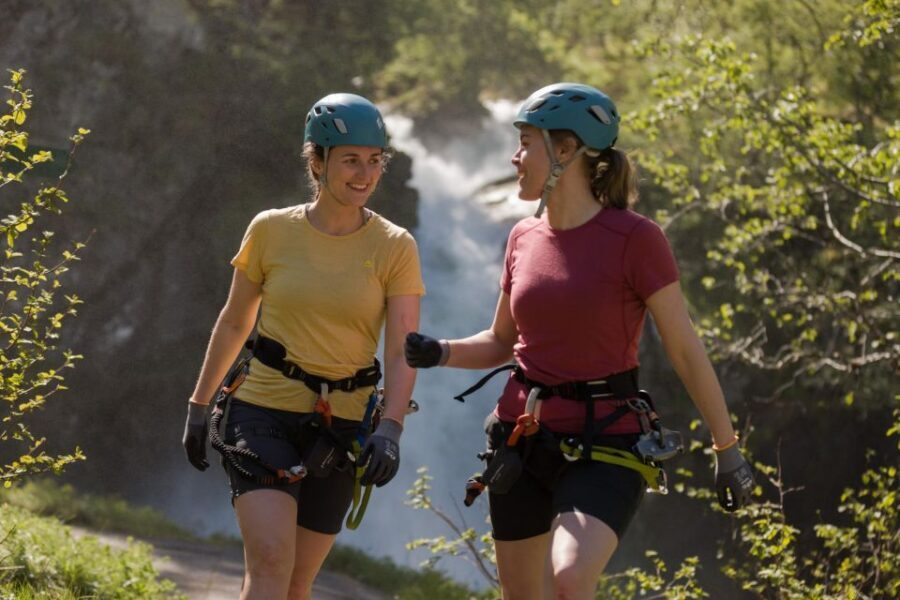
Then comes the part most people remember: the big vertical wall and the long rappels. The descent includes two 50-meter rappels. That’s a lot of rope, and you feel it when you’re committed to moving down with control.
It’s described as completely safe, but also exposed. Exposed means you’re not behind a wall, and you’re not in a covered area. You’re out in open air, looking down while you descend.
You’ll rappel down to the forest area—about 100 altitude meters below the viewpoint area, based on the route design. After that, the tour finishes with a walk on road back toward the guide office.
Two practical reminders help here:
- This isn’t the moment to be shy about asking questions. If you’re unsure, you’re meant to get coaching before moving on.
- Your mindset will matter more than you think. If you treat exposure like a problem, you’ll tense up. If you treat it like a controlled movement, it becomes manageable.

Timing, Fitness, and What to Pack (So You’re Not Cold or Clumsy)
The tour runs about 3 hours, but in real life you should expect some variation based on the group and how quickly people get comfortable with the equipment. If you’re the type who likes a strict schedule, keep buffer time for your day.
This is also not a full day trek. It’s intense and focused. That’s one reason the value can feel strong: you’re not paying for wandering—you’re paying for real instruction and a real vertical experience.
Fitness and body requirements are part of the deal. It’s not suitable for:
- Children under 12
- People with heart problems
- People over 243 lbs (110 kg)
What to wear:
- Sturdy hiking boots are essential.
- Gloves are required. They’re available for purchase for around $5.
- Come with the mindset that you’ll use your arms and hands. If your arms fatigue quickly, build your expectations accordingly.
Food and water: the tour does not start with food or water. You can fill bottles midway, so bring your own bottle(s) and plan to refill on the way up.
Finally, if you’re prone to getting cold, bring a light layer. The canyon air can feel different once you get higher and more exposed.
Price and Value: Why $146 Feels Reasonable for This Much Technical Work
At $146 per person for about 3 hours, you’re not just paying for a viewpoint. You’re paying for a guided, equipment-based adventure with:
- a guide for a group of up to 6
- all the climbing/rappelling gear
- a route that combines rope security, a jumar ascent, and long rappels
That mix is the value. Many outdoor activities in Norway are either a view hike or a single activity. Here you get multiple stages that all require instruction and supervision, and the guide’s job is active throughout—especially during the warm-up rappel and the main vertical section.
If you like experiences where the instruction is part of the payoff (not just a safety formality), this is a good match. The small group size also helps keep the pace and attention more personal.
The Guide Makes the Difference: Patient Coaching on a Tough Route
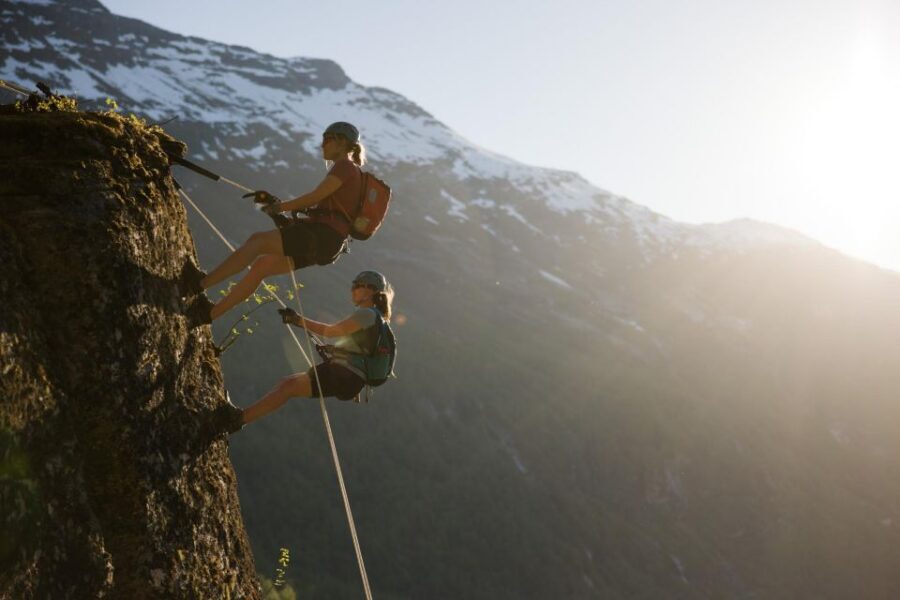
This tour lives or dies on teaching style, because the route asks you to do technical things while you’re also dealing with exposure and steep terrain.
I’m glad the guide instruction is clearly a priority. In past tours, the guides have been patient and hands-on, staying close and coaching foot placement on steep sections. One guide, Phillip, was described as patient and helpful with a 65-year-old who might have felt over her head. That’s exactly what you want: reassurance plus specific movement guidance.
Another guide, Simona, was praised for keeping the experience challenging but achievable for a group that included kids and teens. She inspired people to push their comfort levels without rushing them.
What this means for you: go in expecting to learn. If you show up willing to follow instructions and take your time, you’ll likely feel more in control than you expect.
Who Should Book (and Who Should Skip It)
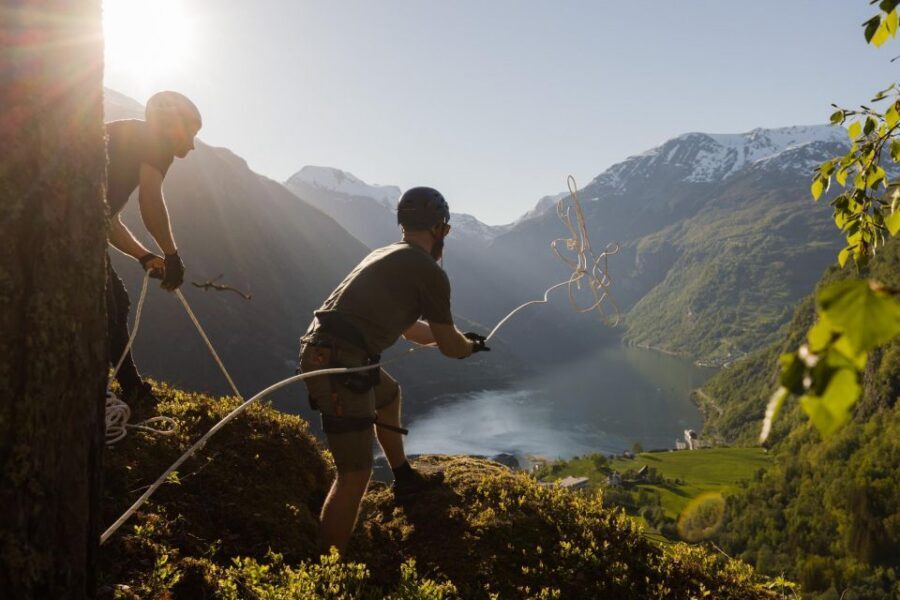
This is a great choice if you want an adventure that blends:
- rope-secured hiking
- practical climbing technique (jumar)
- a warm-up learning phase
- long rappels with real exposure
- a viewpoint payoff that doesn’t feel like a quick stop
It’s also a good option if you like structure. You’ll get safety briefings, gear guidance, and staged progression so you’re not thrown onto the hardest part right away.
But you should think twice if:
- You hate heights and exposure, even with safety gear
- Your upper-body strength is very limited
- You have medical concerns related to physical exertion (heart problems are a clear no based on the rules)
Final Call: Should You Book the Rappelling + Epic View Tour?
If you’re looking for a Geiranger experience that’s more than a photo stop, I think this is a strong pick. The standout value is the full sequence: rope-clamped ascent, a viewpoint with breathing room at Flydalsjuvet, then long rappels after learning the basics on an introduction wall.
Book it if you’re comfortable with steep hiking that relies on your arms and hands, and if you can handle the exposed feeling of a vertical descent. Skip it if you’re mainly after something calm and scenic, because the rappel part is the point—and it’s physically and mentally active.
If you want flexibility, the booking options here are designed for it (reserve now and pay later, plus free cancellation up to 24 hours in advance). That makes it easier to lock in your preferred time without stressing your whole itinerary.
FAQ
FAQ
Where is the meeting point for the tour?
You meet at the Explore Geiranger guide office near the Dynamite Waterfall. The address is Geirangervegen 139, Geiranger.
How long does it take to walk from the harbor to the guide office?
It takes about 15 minutes to walk from the harbor to the guide office.
What language is the instruction in?
The instructor speaks English.
Is this a private group tour, and what’s the group size?
It’s a private group tour with a maximum group size of 6 people, and it includes 1 guide.
What equipment is provided?
All the equipment is included with the tour.
Who is the tour not suitable for?
It’s not suitable for children under 12, people with heart problems, and people over 243 lbs (110 kg).