REVIEW · ODDA
Odda: Trolltunga Winter Hike on Snowshoes
Book on GetYourGuide →Operated by Trolltunga Active AS · Bookable on GetYourGuide
Winter in Trolltunga hits different. This guided snowshoe hike to Trolltunga in Vestland County is all about big mountain views, steady winter technique, and one of the most famous rock lookouts in Norway. I especially like the way the day mixes effort with payoffs: you work uphill with snowshoes, then get rewarded with photo-heavy moments over the Ringedalen valley and the view of Folgefonna glacier in the distance.
The other thing I really like is the practical, safety-first vibe. You start early with a guide who keeps an eye on weather, pace, and footing, and you get help with photos along the way. One consideration: this is a long winter outing (about 10 hours) with real uphill effort and a finish that still involves cold and physical activity, so you’ll want decent fitness and the right gear.
In This Review
- Quick hits: what makes this winter day worthwhile
- Odda to Trolltunga: the winter route in plain terms
- Meeting at Skjeggedal and the 7:30 AM start matters
- The first leg: 4 km to Mågelitopp, warm-up style
- From Topp to Gryteskar: the steep uphill you’ll remember
- Ringedalen on your way to Trolltunga: big views, frequent breaks
- Reaching Trolltunga: the famous rock in winter clothing
- The return trail and the possible sunset on Gryteskar
- Snowracer fun: sliding down from P3 to P2
- Gear and clothing: what you bring is your comfort system
- Safety and guide style: how unpredictability gets managed
- Fitness, heights, and who should choose a different day
- Price and value: is $194 worth it?
- Should you book this Trolltunga winter snowshoe hike?
- FAQ
- How long is the Trolltunga winter hike?
- Where do we meet for the tour?
- What language is the guide?
- Is snowshoe gear included?
- Are meals included?
- Do I need to bring a lot of snacks and water?
- Is this tour private?
Quick hits: what makes this winter day worthwhile
- Snowracer return from P3 to P2 turns the final stretch into pure fun, not just tired legs.
- Snowshoe time from Topp, including a steep uphill section at Gryteskar that gets your heart rate up.
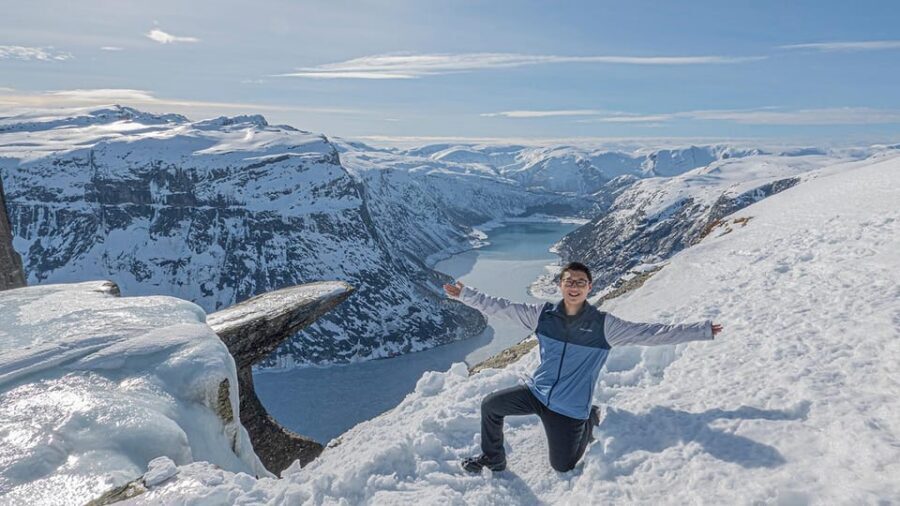
- Ringedalen valley views with frozen waterfalls and wind-carved snow formations you can actually see up close.
- Guides actively help with photos during the hike, so you’re not stuck juggling camera and balance.
- Trolltunga in winter form sits above the Lake of the Rings, with Folgefonna glacier visible far off.
Odda to Trolltunga: the winter route in plain terms
This is one of those Norwegian trips where the scenery isn’t just background. It shapes how you move. In winter, snow cover changes everything: footing slows you down, wind matters, and visibility can shift fast. That’s why having an experienced guide matters more than having extra motivation.
The route is designed like a proper mountain day, not a short “walk to a view.” You hike from Skjeggedal toward Mågelitopp, then switch to snowshoes and push into the steepest uphill near Gryteskar. After that, the route eases in and out as you make your way toward Trolltunga, with repeated breaks so you can regroup, snack, and soak up the views without rushing.
If you’re hoping for a gentle stroll, this isn’t it. If you want a real winter outing with a famous destination and a fun finish, this hits the sweet spot.
You can also read our reviews of more hiking tours in Odda
Meeting at Skjeggedal and the 7:30 AM start matters
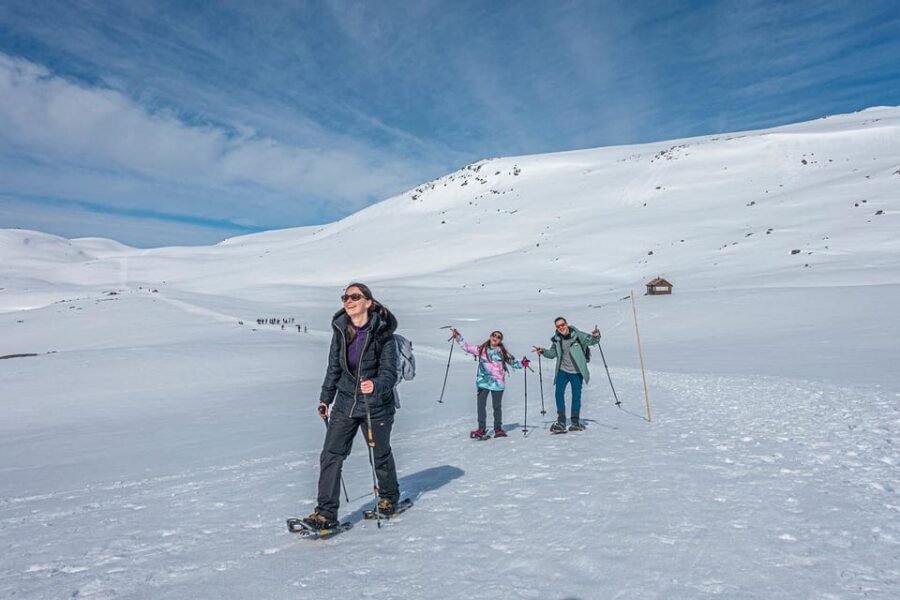
You meet at the Trolltunga Active Store right next to the P2 parking in Skjeggedal. Plan to arrive early enough to check your kit and get any gear support before the group briefing.
The day begins at 7:30 AM. That early start is practical. Winter light and trail conditions matter, and the colder temps later in the day can make an already long hike feel harder. Starting early also gives you more time for breaks and photos, which is exactly how the guides keep the pace manageable.
Also, this is run as a private group, so you’re not stuck in a giant crowd. That tends to help with spacing on narrow snow paths and makes it easier for the guide to adjust pace if conditions change.
The first leg: 4 km to Mågelitopp, warm-up style
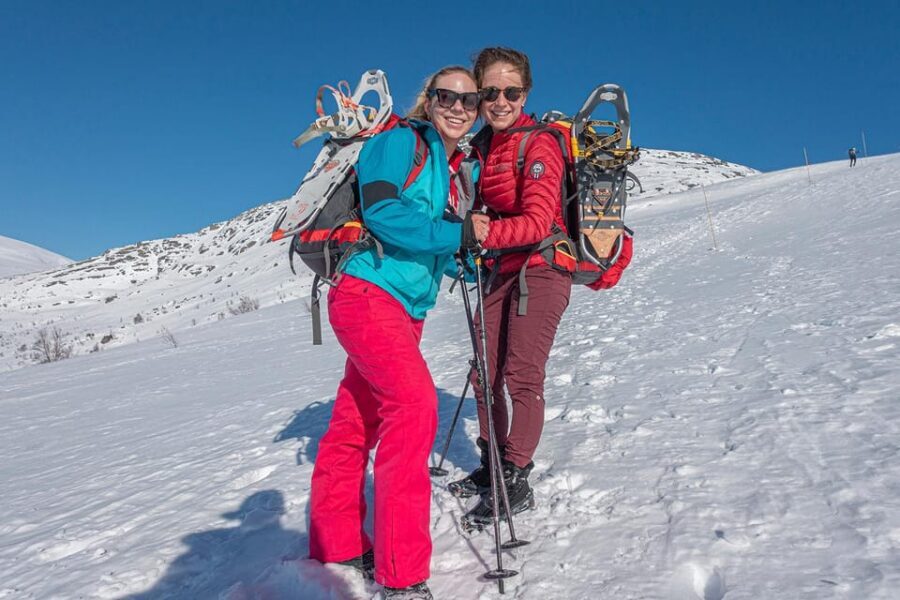
The hike starts with a 4 km stretch on foot, from Skjeggedal up to Mågelitopp. This part is your warm-up and your chance to dial in layers, gloves, and your breathing pace.
In winter snow, the biggest mistake is treating this like a casual hike. You’ll be moving for hours. So I like the way this tour begins with that first climb before snowshoes—because it lets you find your rhythm while the terrain is still more “straightforward” than the steepest section later on.
Once you reach Mågelitopp, you’re not done. This is the point where the tour shifts into the snowshoe phase, which changes how everything feels underfoot.
From Topp to Gryteskar: the steep uphill you’ll remember
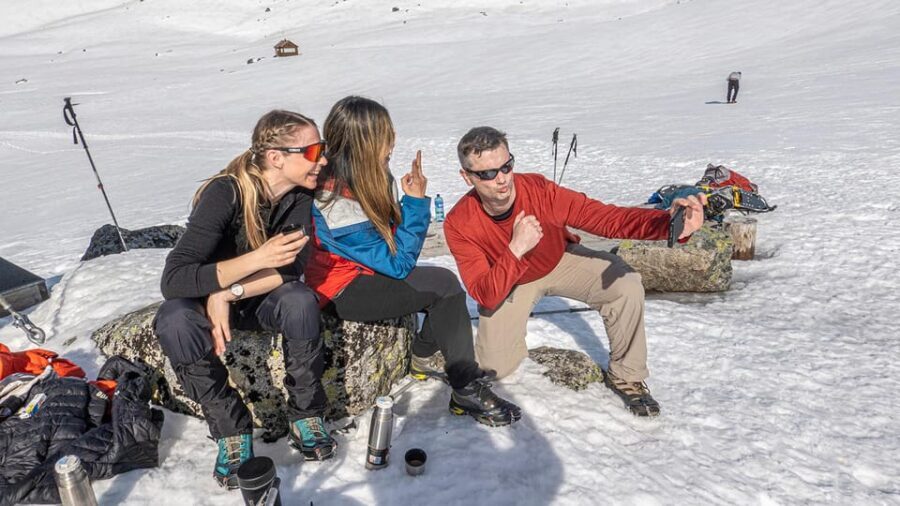
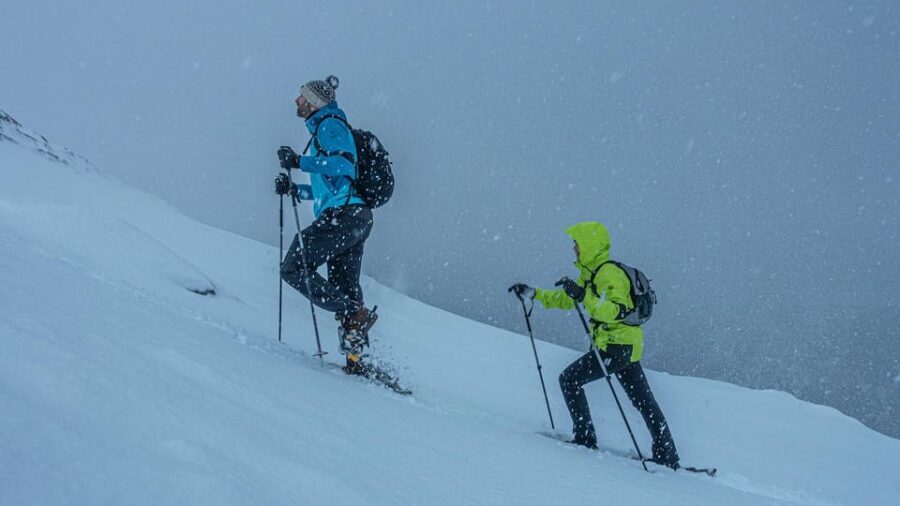
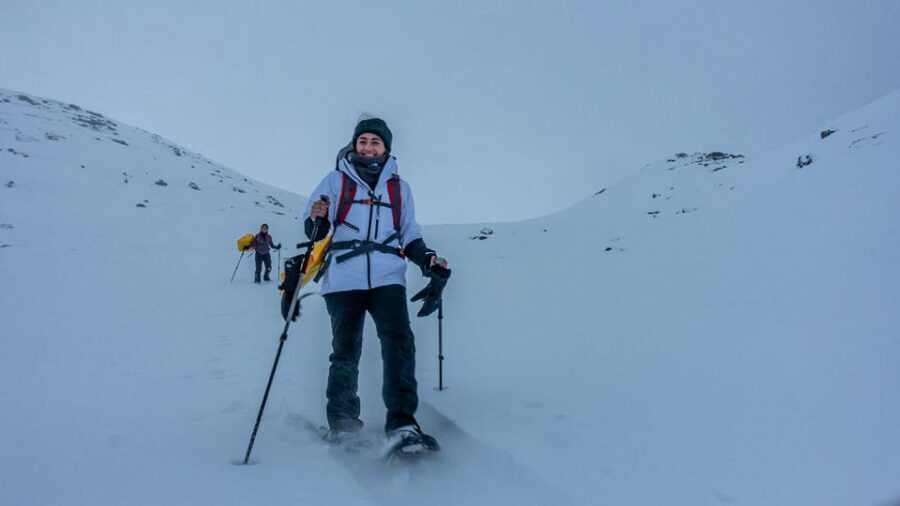
After the early climb, you reach Topp and switch to snowshoes. This is where the tour turns into an actual snow trek. Snowshoes spread your weight and help you travel across deeper snow, but they also demand good step technique. The guide’s role here is huge: they’ll help you get moving safely and efficiently, especially on steeper ground.
Then comes the moment you “conquer” the steepest uphill segment of the hike at Gryteskar. This is the part most likely to test your legs and lungs. Expect it to feel steep, not endless. The good news is that it’s a defined challenge inside a longer day, so once you crest it, the route begins to feel more like a journey between viewpoints rather than a constant grind.
In snowy Norway, wind can add effort fast. If conditions are harsh, the guide’s job is to keep the group together and adjust the pace so you’re not spiraling into panic mode on a slippery slope.
Ringedalen on your way to Trolltunga: big views, frequent breaks
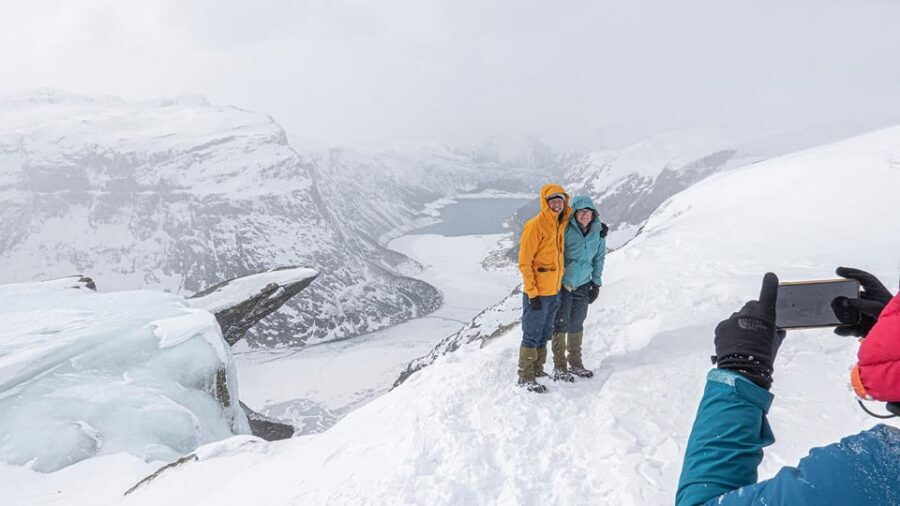
After Gryteskar, you get easier up-and-down terrain as you move toward Trolltunga. This is the section where the day becomes cinematic.
You’ll pass snowy mountain views, and the route includes sightlines down into Ringedalen, along with frozen waterfalls and formations wind has carved into the snow. These details matter because they’re not just “pretty.” They’re clues to the winter environment: you’ll feel how exposed ridges are, how sheltered pockets might be, and where snow drifts form.
The tour includes several breaks. That’s not filler. It’s time for your body to reset, time to eat real calories, and time to take photos safely without balancing on one leg like a fancy tripod.
The guides also share local nature and history, plus they offer practical advice on the best photo spots. It’s a small thing, but on a hike like this, knowing where to stand (and where not to) saves you from wasting energy on bad angles or unstable footing.
Reaching Trolltunga: the famous rock in winter clothing
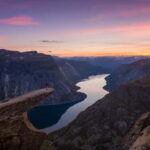
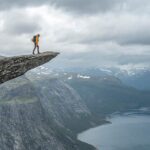
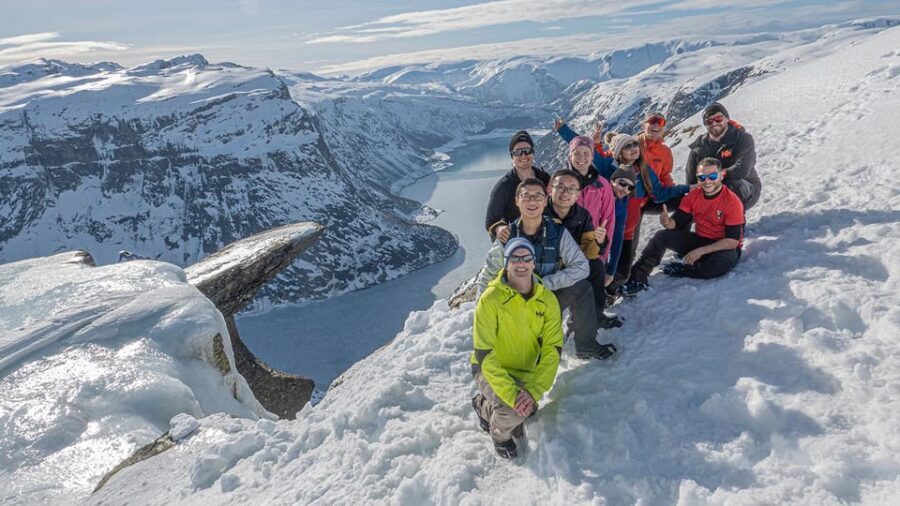
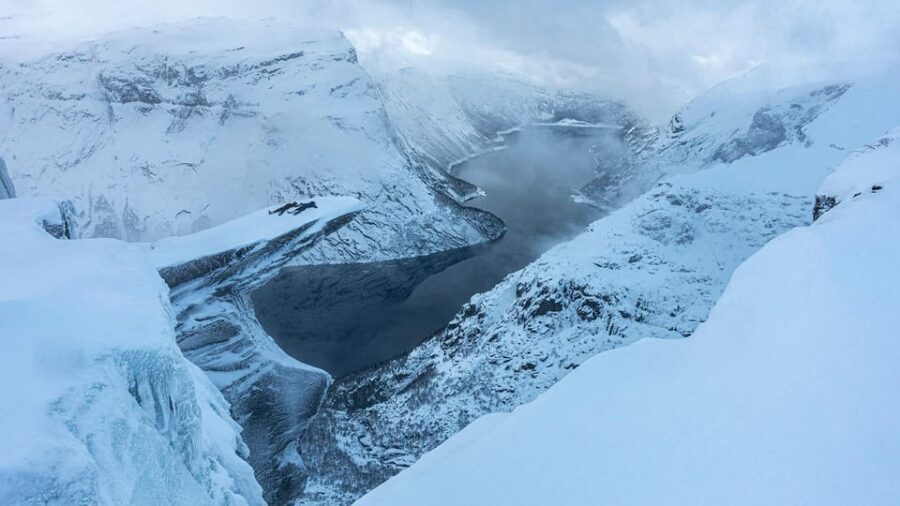
When you arrive at Trolltunga, you’ll see the formation rising above the Lake of the Rings, with the Folgefonna glacier in the distance. In winter, the surroundings look more sculpted and quieter. The snow softens edges, but it also makes the scale feel sharper—because everything is coated and wind-scoured.
This is your photoshoot time and your story time. I like that the guide doesn’t just send you to the rock. You’re given a moment to take it in, get your bearings, and learn how to understand what you’re seeing in winter conditions.
One caution, based on who this tour is not suitable for: Trolltunga involves exposed viewpoints. If you have fear of heights or vertigo, don’t plan to “tough it out.” The design of the experience is built around reaching a famous lookout, and winter can make that feel more intense than in summer.
The return trail and the possible sunset on Gryteskar
The return is often easier in one key way: you get a good snowtrail to walk on and more downhill sections. That doesn’t mean it’s effortless. It just means you’re not constantly fighting for footing in the same way.
You’ll head back with more of that downhill feeling, with time to chat and enjoy the group atmosphere. One of the nice touches is that, in some conditions, you might even get a sunset walk on Gryteskar. Even if the light isn’t dramatic, winter sunsets are usually quick and beautiful, and having that timing is a bonus.
By the time you near the end, you’ll likely be tired in the normal hiking way: cold cheeks, heavy boots, and a brain that just wants steady steps. This is when the tour’s final twist matters most.
Snowracer fun: sliding down from P3 to P2
Here’s the payoff that turns the end of the day from endurance to celebration: the tour includes a snowracer return from P3 to P2. In other words, instead of thinking about how long it will take to walk back, you finish with a slide.
It’s also a great mood shift. After a long trek, your body is done with climbing and ready for something playful. And because it’s part of the planned return, it feels like a chore-to-reward transition rather than an add-on.
If you like a bit of controlled adrenaline, this is the moment you’ll remember.
Gear and clothing: what you bring is your comfort system
This hike lives or dies on clothing and layering. The cold in Norway can be unforgiving, especially when wind gets involved. The tour’s included gear helps, but you still carry the main responsibility: staying warm, dry enough, and mobile.
The big checklist:
- Warm layers (wool base layer is strongly advised; cotton gets cold when wet)
- Wind- and waterproof shell jacket and pants
- Sturdy, waterproof winter hiking boots
- Gloves/mittens plus a spare pair
- Woolen socks plus spare socks
- Headlamp (winter days can run long)
- Sunglasses or goggles for snow glare and wind
- 2 liters of water, and a thermos with hot water can be a comfort boost
- Food for a long day: bring at least double your normal intake (sandwiches, nuts, chocolate, banana were specifically recommended)
The “extra food” point is easy to underestimate. Snowshoe hiking burns more energy than you expect, and cold increases the feeling of fatigue. If you bring normal-day snacks, you’ll likely be hungry.
Also bring a backpack around 40 liters. It’s large enough for layers, food, and spare gear, and you should leave room so you can carry micro spikes or snowshoes on the pack if needed.
If you’re the type who thinks you’ll be fine with thinner socks or one jacket, don’t. This tour is set up for people who plan ahead.
Safety and guide style: how unpredictability gets managed
Norwegian winter weather can change fast. That’s not a dramatic marketing line; it’s a real planning factor here. The guides are focused on safety and include first aid and safety equipment, and they’re used to managing conditions in the mountains.
You’ll get a briefing at the store before starting. That briefing includes checking that the group is prepared, plus advice on how to hike safely in winter and how to read weather changes. I like that this is part of the tour, not something you only learn after you’ve struggled.
The tour also has hiking poles included, and micro spikes or snowshoes if needed. That helps you avoid the common problem of arriving without the right traction.
One last safety tip that’s worth repeating: bring a fully charged phone for emergencies and don’t count on being able to charge it later.
Fitness, heights, and who should choose a different day
This isn’t listed as a beginner hike. It’s aimed at people who can handle a 10-hour day with steep segments and cold exposure.
It is not suitable for:
- pregnant women
- people with heart problems
- people afraid of heights
- people with vertigo
- people with low level of fitness
Even if you’re an active person, be honest about your comfort with exposure. Trolltunga is the kind of place where anxiety can spike when you’re cold and your balance feels different on snow.
On the other hand, if you’re comfortable hiking in winter conditions and you can manage steep uphill effort, this is a very rewarding way to experience the Odda area.
Price and value: is $194 worth it?
At $194 per person for a roughly 10-hour guided winter hike, you’re paying for more than a name on a ticket. You’re paying for:
- professional guides with safety and first aid equipment
- included hiking poles
- snow traction gear if needed (micro spikes or snowshoes)
- guide help with photos throughout
- a full winter outing with real mountain time
- snowracer fun at the end (P3 to P2)
Meals and drinks are not included, so you’ll need to plan your own food. But the tour provides a clear expectation: you should bring a lot of food and water, and you’ll be glad you did.
Transport to and from the start isn’t included, except you may get free transport if you’re staying at the partner Trolltunga Hotel (if transport is part of your accommodation there). That can make the overall value better if you’re already planning to sleep nearby.
In practical terms: if you want the Trolltunga experience but don’t want to figure out winter route safety and gear logistics on your own, this price starts to look fair.
Should you book this Trolltunga winter snowshoe hike?
Book it if you want a winter day that mixes real effort, famous scenery, and a playful ending. You’ll appreciate the English-guided structure, the gear support, the planned breaks, and the fact that the guides are focused on safety and weather readiness.
Skip it if heights and vertigo are a worry, if you know cold hiking quickly turns into a health issue for you, or if you’re expecting a short easy walk. This is a mountain experience, not a casual sightseeing shuffle.
If you’re the kind of traveler who likes earning the view, packing the right layers, and then celebrating with something fun at the end, this is a strong pick for Odda in winter.
FAQ
How long is the Trolltunga winter hike?
The tour duration is listed as about 10 hours.
Where do we meet for the tour?
You meet at the Trolltunga Active store, in the building next to P2 parking in Skjeggedal.
What language is the guide?
The live tour guide speaks English.
Is snowshoe gear included?
Hiking poles are included, and micro spikes or snowshoes are provided if needed. Gear support is also offered if you’re not fully prepared.
Are meals included?
No. Meals and drinks are not included, so you’ll need to bring your own food and water.
Do I need to bring a lot of snacks and water?
Yes. You’re advised to bring at least double your normal food for the day, and about 2 liters of water (a thermos with hot water is a nice-to-have).
Is this tour private?
Yes. It’s listed as a private group.