REVIEW · TROMSO
Tromso: Northern Lights Photography Tour
Book on GetYourGuide →Operated by NorthernShots Tours · Bookable on GetYourGuide
Chasing the Aurora feels like hunting light. This Tromsø tour blends real science talk with a hands-on Northern Lights photography tutorial, so you know what to look for and how to photograph it.
I like the practical rhythm of the night: you drive out into the dark, keep checking conditions, and warm up with hot drinks and cookies while the hunt continues. One drawback to weigh is that the lights are never guaranteed, and you may spend long stretches in the vehicle if weather is rough.
In This Review
- Key things I’d bank on before you book
- Northern Shots in Tromsø: how this Aurora chase actually works
- Where you meet and what the first 30 minutes feels like
- The long drive: why the transfers matter more than the destination
- The Aurora science talk: what you should listen for
- The photography tutorial: what changes once someone teaches you
- Viewing stops and the “Aurora chasing” mindset
- The hot chocolate and cookies: small break, big impact
- Optional professional portraits and paid photos: decide early
- What to bring so the cold doesn’t sabotage your night
- Value check: is $95 worth it for an Aurora photography tour?
- Best fit: who will love this tour (and who might not)
- Should you book Northern Shots’ Tromsø Northern Lights Photography Tour?
- FAQ
- FAQ
- How long is the Tromsø Northern Lights Photography Tour?
- Where do I meet for the tour?
- Is the tour guide available in English?
- Are the Northern Lights guaranteed on this tour?
- What’s included in the price?
- What should I bring with me?
- What if I don’t see the lights?
- Is it fully refundable if plans change?
Key things I’d bank on before you book
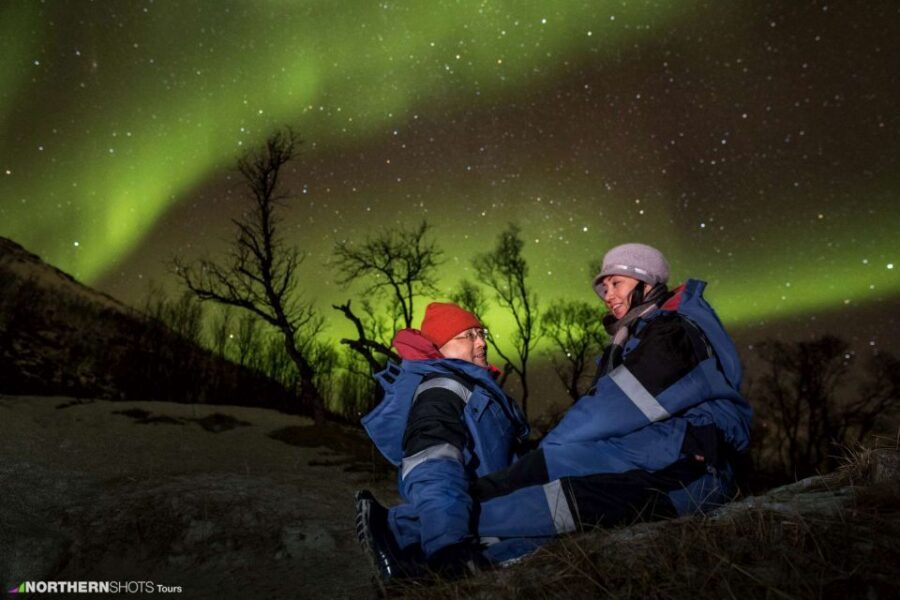
- Photography coaching that covers phones and cameras, not just “stand here and hope”
- A real Aurora science explanation (what causes it and what affects visibility)
- An active chase strategy, often moving to keep your odds alive
- Warm drink breaks to help you last through cold waiting time
- Optional pro portraits and paid professional photos, which can add up
Northern Shots in Tromsø: how this Aurora chase actually works
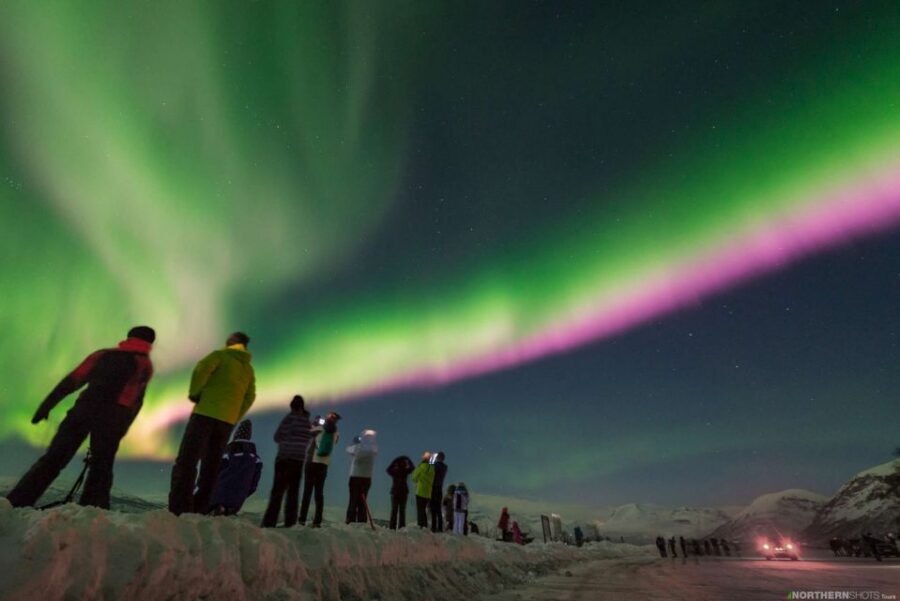
This tour is built around a simple truth about the Aurora Borealis: you can’t order it like dinner. You can only improve your odds—by learning what’s going on and being ready to move when conditions shift.
What makes Northern Shots stand out is the mix of guidance + technique. You get a guide who talks through the phenomenon (the why behind the magic), and you also get a quick tutorial so you’re not stuck guessing camera settings in the dark. In other words, you’re not just chasing light—you’re learning how to capture it when it shows up.
The itinerary looks straightforward on paper, but the night itself is flexible. The tour duration can change based on season, weather, and road conditions. Sometimes you stay in one spot. Sometimes you travel to multiple spots. Either way, you should expect a chunk of time where you’re waiting for the sky to cooperate.
You can also read our reviews of more photography tours in Tromso
Where you meet and what the first 30 minutes feels like
You start inside the Northern Shots shop, also called the Booking Point, located between The Edge Hotel and the Magic Ice bar, right in front of Prostneset Harbour. It’s easy to find: a big Booking Point label on the shop and NorthernShots Tours on the window.
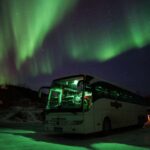
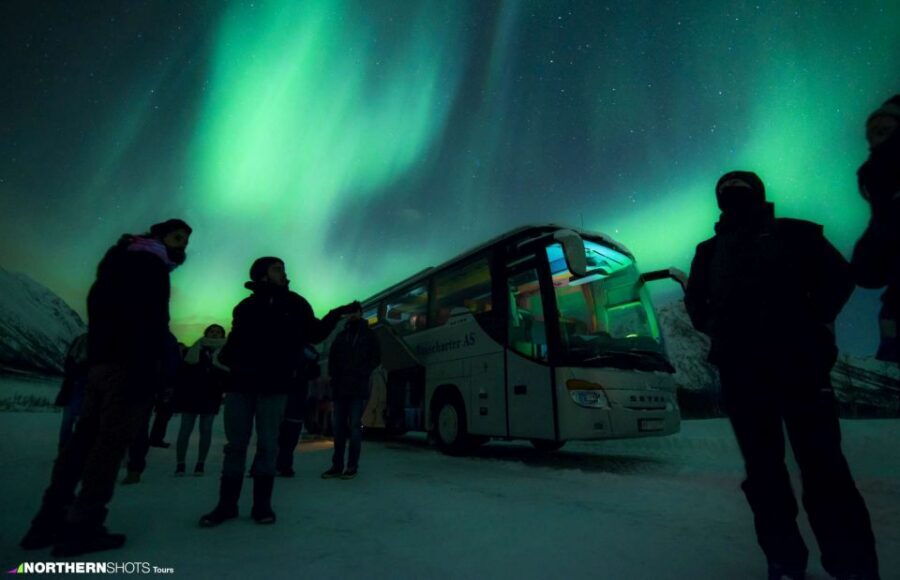
Once you’re with the crew, you’ll put on reflective vests and climb aboard the coach. The vehicle is normally heated, which matters when the night turns sharply cold—but it may gradually cool down on especially freezing evenings. That’s why this tour is really about layering, not fashion.
If you’re someone who hates “meeting and then wandering,” this format works. You get organized fast, you’re in warm transport almost immediately, and you’re pointed toward the night’s plan (even if the plan can change).
The long drive: why the transfers matter more than the destination
Your schedule includes transfers (two major driving stretches are part of the structure), plus at least one stop for sightseeing and aurora viewing. What matters most is how that driving time is used.
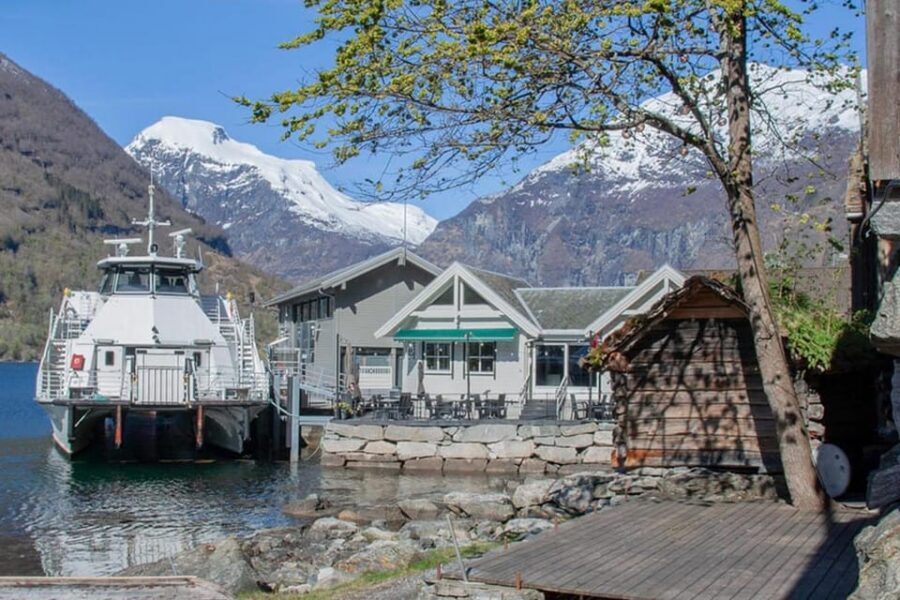
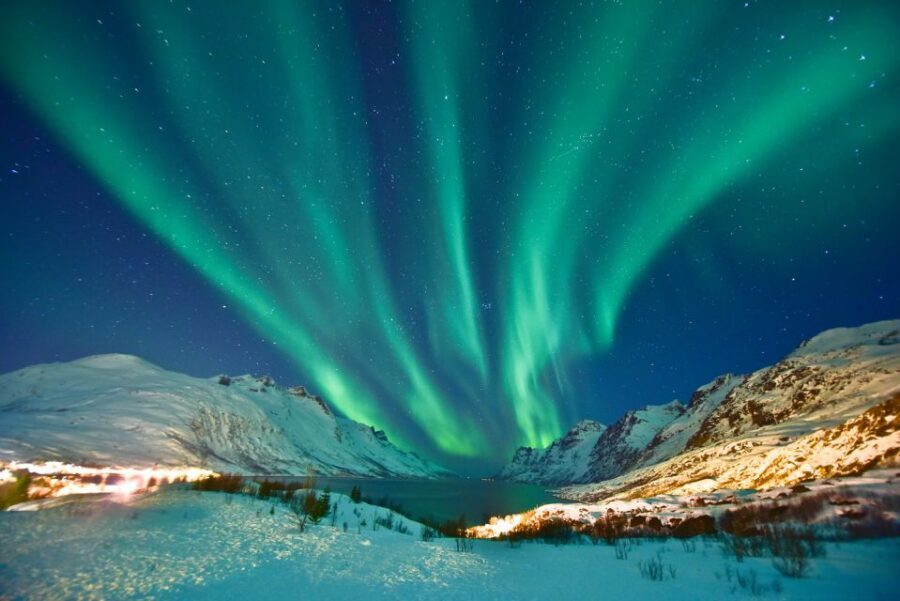
The tour goes past fjords and mountains to get you to the best possible viewing spot, relying on technical resources and local know-how in the region. Translation: you’re not just going somewhere dark—you’re going somewhere dark that makes sense for the current conditions.
In practice, that also means you may end up farther from Tromsø than you expected, including routes that can cross toward the Finland border when skies are better there. Several guides on this operator have a pattern of keeping an eye on cloud cover and timing, then moving to where the sky opens up.
This is also where you should set expectations: you might sit in the vehicle for hours while the team searches. On a cloudy night, the night can feel slow. The value is that the search is organized and guided, not random driving.
The Aurora science talk: what you should listen for
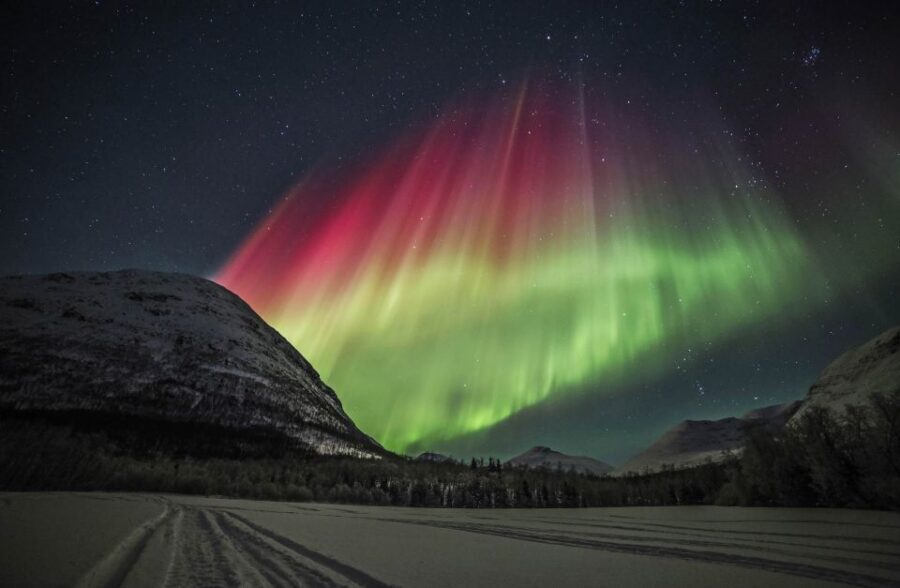
Half the fun of a great Aurora night is understanding what you’re watching. This tour leans into that. On the drive, guides explain the scientific phenomenon of the Aurora Borealis, plus the stories that surround it—so the sky display becomes more than a “wow moment.”
What I’d pay attention to during the explanation:
- what triggers the light (solar activity interacting with Earth’s atmosphere)
- why cloud cover and darkness level matter
- why the show can start slowly, then intensify
- what to expect in different parts of the season
You’ll also get Arctic context and insights into Tromsø as the regional capital. It makes the night feel grounded, like you’re not just photographing the sky—you’re learning how this place works.
If your guide keeps checking conditions and explains the route as you go, it’s a sign you’re in good hands. People on this tour have praised guides like Thomas and Barbara for staying focused on both the science and the group experience.
The photography tutorial: what changes once someone teaches you
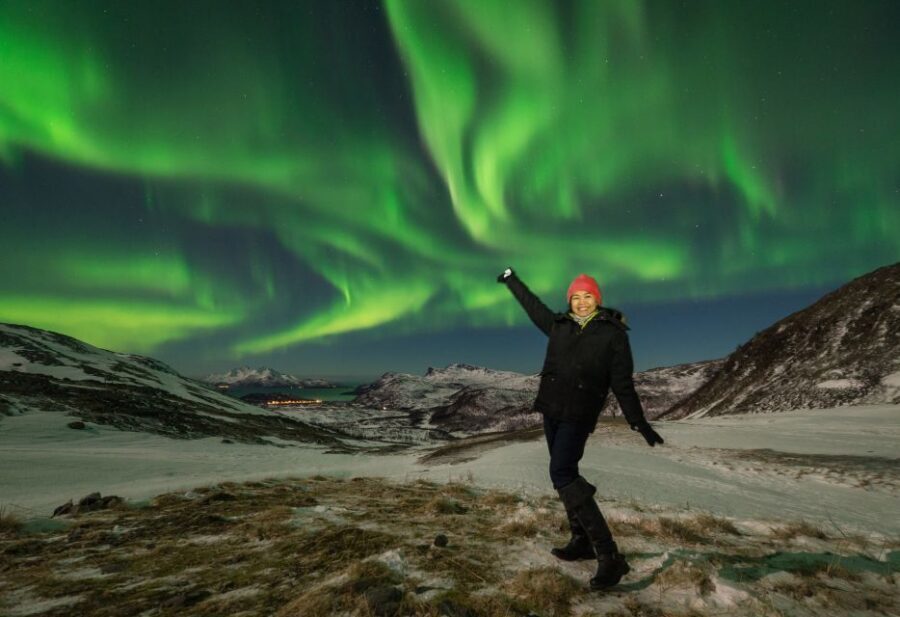
Northern Lights photography sounds simple until you’re out in the cold with a phone that’s refusing to focus. This tour’s best feature is the quick tutorial that helps you get unstuck fast.
You get photo coaching before or during the hunt, with practical guidance for:
- camera and phone settings
- how to frame shots when the sky is moving
- how to capture aurora color and shape rather than just a gray sky
- how to avoid common blunders (like settings that turn night into blur)
A nice detail: the tour isn’t phone-vs-camera. It supports both. People have specifically called out that guides help with phones and cameras, and that you don’t have to already be the person with the perfect gear.
If you’re traveling without a tripod, you might still be able to get results—but the biggest win is learning how to manage exposure and focus so your shots don’t wash out. Even if you only manage a couple good frames, the tutorial is the difference between “I took pictures” and “I captured something real.”
Viewing stops and the “Aurora chasing” mindset
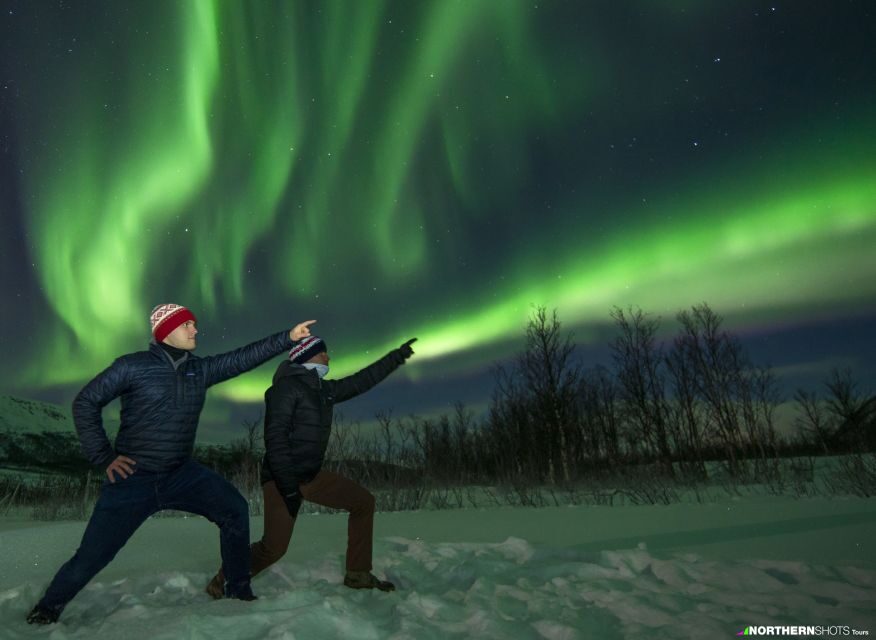
Your itinerary includes a viewpoint/sightseeing stop, then another transfer to keep searching. That back-and-forth is the core of the Northern Lights experience here.
On the ground, the tour runs regardless of weather conditions—so “cloudy and disappointing” doesn’t end the night automatically. The guides and driver keep working the forecast and sky conditions. If the clouds break, you’re already positioned to react.
Some stops can be slippery, so you’ll want good grip in your shoes and careful movement where you step out. Also remember: the bus might be heated, but the viewing time is outdoors, and you’re not wearing “some warm jacket”—you’re wearing warm layers designed for Arctic night exposure.
Group size can also vary. During high season you may have bigger crowds and be parked near vehicles from other companies. The workaround is timing and location: the tour can move to reduce crowd pressure, and guides have been praised for finding spots that feel spacious enough to take photos comfortably.
One more realistic note: even when you see the aurora, it can shift in intensity. A show might start weak, then strengthen, then surprise you again later. Patience isn’t just a virtue here—it’s part of the plan.
The hot chocolate and cookies: small break, big impact
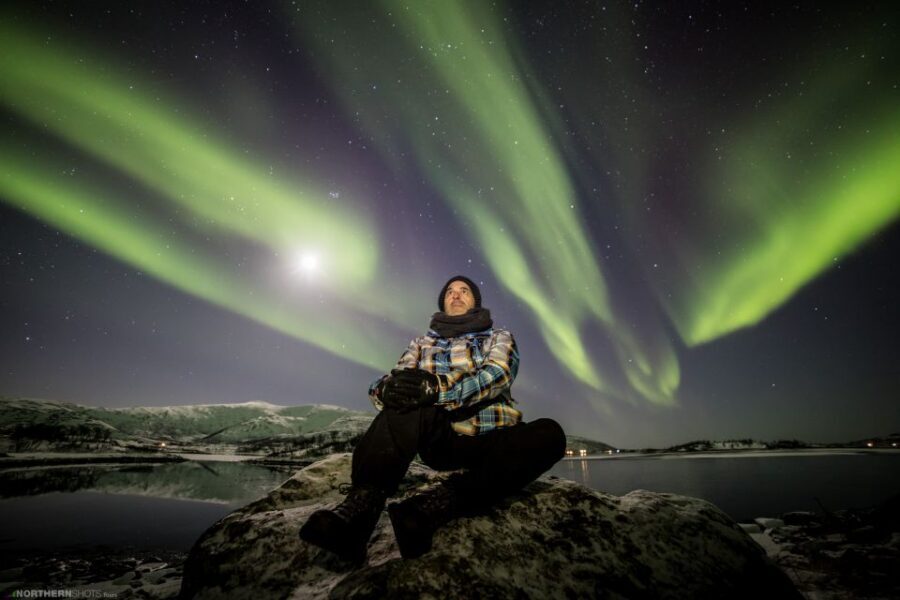
You finish your tour with hot chocolate, and the route also includes warm drink pauses with cookies along the way. These breaks aren’t a gimmick. They help you keep going when you’re cold, still, and waiting for the sky to cooperate.
If you’re the type who gets cranky when you’re cold and stuck, these warm drink moments are a real quality-of-life win. You’ll often see people describe them as the survival food of the night—because they are.
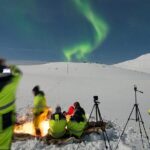
Some guides have even added extra warmth tactics in the wildest weather conditions (like warm-up moments with fire). That isn’t guaranteed, but it fits the operator’s overall style: they’re trying to keep your night comfortable enough that you can stay alert and take pictures when the lights arrive.
Optional professional portraits and paid photos: decide early
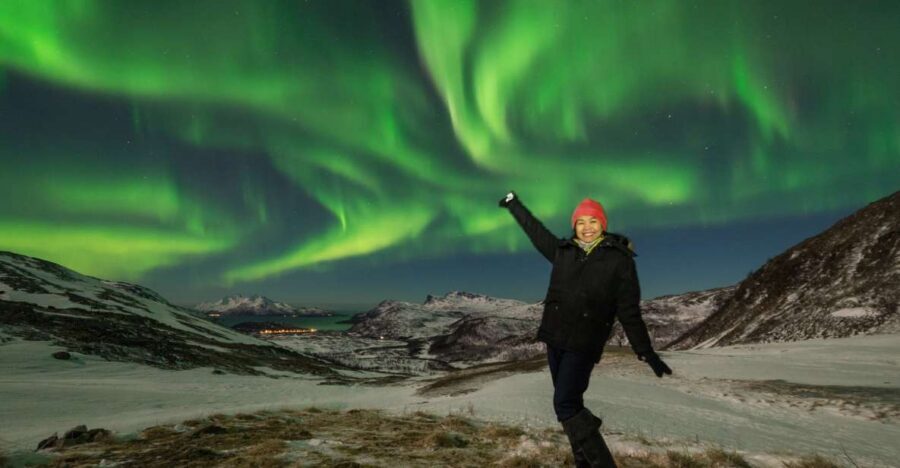
If you want a “keepsake” photo, there’s an optional professional Aurora portrait taken by the photographer. That’s separate from the standard experience and available for purchase.
Professional photos are also offered and come at an additional cost. This is an important consideration: the tour itself includes a photography tutorial, but it does not automatically include free professional images.
If you’re comfortable learning on your own, you might treat the pro photos as optional. If you want the best chance at stunning shots and you don’t have the time or gear to experiment, you might consider budgeting for purchased images.
Either way, go in with your eyes open. The included value is the coaching and the chase. The paid value is the photographer’s final product.
What to bring so the cold doesn’t sabotage your night
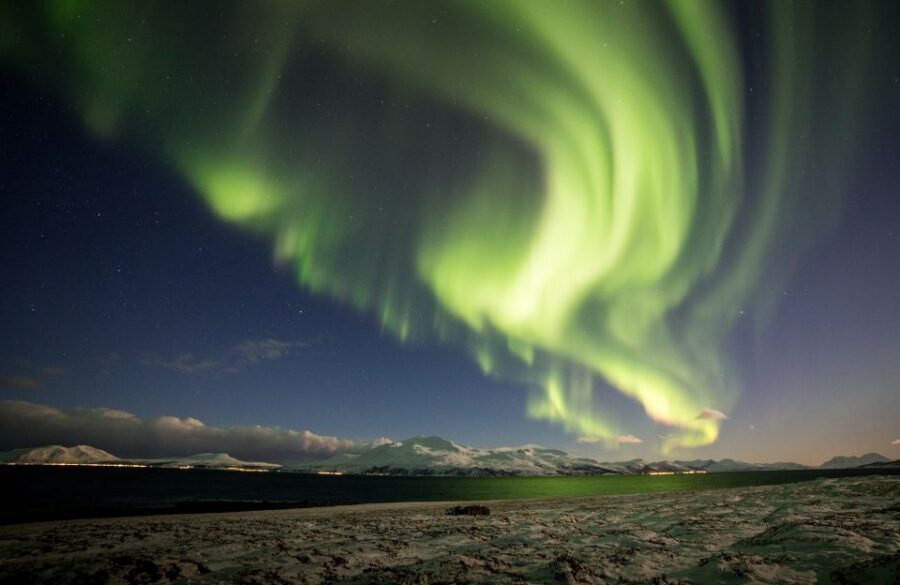
The tour gives you the essentials (transport, guide, photo tutorial, hot drinks and cookies), but you need to bring your comfort. The key items listed include:
- warm clothing and gloves
- thermal clothing (recommended—thermal clothes are not included)
- flashlight
- charged smartphone
- passport or ID card
- water and food (food is not allowed in the vehicle)
You’ll also want travel insurance, especially if you’re planning around a specific trip schedule.
My practical advice: don’t just pack one bulky coat. Use layers you can adjust as you move between heated bus time and outdoor waiting. And if you think gloves might be enough, add a second layer or thicker pair—because hands are what you notice first when the aurora hunt runs long.
Value check: is $95 worth it for an Aurora photography tour?
At about $95 per person for a 7-hour experience, this tour sits in a reasonable midrange for Tromsø Aurora outings. The value comes from what’s included:
- transportation
- a live guide
- a photography tutorial
- hot drinks and cookies
That combination matters because Northern Lights tours aren’t just “a seat to view the sky.” The real costs are time (waiting and driving) and expertise (helping you interpret conditions and get usable images).
If you’re hoping to leave with more than blurry screenshots, the photo coaching is a big part of the value. If you’re okay with waiting and staying flexible, the chase strategy also increases your odds.
Potential costs to remember:
- thermal clothes are not included
- water isn’t included
- professional photos (and optional portraits) cost extra
Also note the aurora factor: you can’t guarantee the lights. The tour runs to chase them, but sometimes weather wins.
If you don’t see the northern lights on your first attempt, there is a 50% discount offered on a new tour if you book at the desk upon seat availability at the days rate. This is not a refund. It’s a “try again” incentive, and it can be helpful if you’re spending multiple nights in the region.
Best fit: who will love this tour (and who might not)
This tour fits you if you want:
- a guided Aurora chase, not a passive viewing experience
- help with photographing the lights, including phone tips
- science explanations that make the sky show feel less mysterious and more meaningful
- warm drink breaks that help you stay out when it gets cold
It may not be your best match if you:
- hate being in a vehicle for long stretches while the team searches
- expect the aurora to be guaranteed
- don’t want any chance of extra spending on professional photos
Because your odds depend on weather, the best mindset is flexible. People often describe the best nights as the ones where they kept going even when the sky seemed questionable at first.
Should you book Northern Shots’ Tromsø Northern Lights Photography Tour?
I’d book this tour if you’re serious about getting usable Northern Lights photos and you want a structured chase with real guidance. The included photo tutorial and science talk make it more useful than a basic “view from the bus” style outing.
Skip it only if you’re unwilling to deal with cold waits, possible long driving time, or the reality that the lights can still refuse to show. If you can handle that, this is one of the more practical ways to turn an Arctic night into something you’ll remember—and not just something you’ll watch through fog or cloud.
FAQ
FAQ
How long is the Tromsø Northern Lights Photography Tour?
The tour is listed as 7 hours, but the actual duration is variable depending on season, weather, and road conditions. During April and August, increased daylight can shorten the available time to see the lights.
Where do I meet for the tour?
Meet inside the Northern Shots shop, also known as Booking Point, between The Edge Hotel and the Magic Ice bar, in front of Prostneset Harbour. Look for the big Booking Point label.
Is the tour guide available in English?
Yes. The tour provides a live guide in English.
Are the Northern Lights guaranteed on this tour?
No. The Northern Lights are a natural phenomenon and cannot be guaranteed, even if the sky is clear. The tour runs regardless of weather, and the team drives to improve visibility when possible.
What’s included in the price?
Transportation, a guide, a photography tutorial, and hot drinks and cookies are included.
What should I bring with me?
Bring warm clothing, gloves, flashlight, and a charged smartphone. You should also bring passport/ID and food and water. Thermal clothing is specifically mentioned as something you may want to have, since it is not included.
What if I don’t see the lights?
The lights are not guaranteed. There is a 50% discount on a new tour if you don’t spot the lights on your first tour, booked at the desk upon seat availability at the days rate. This discount is not valid in the last day of the season.
Is it fully refundable if plans change?
There is free cancellation up to 24 hours in advance for a full refund. If the tour is canceled due to unsafe road conditions, you can change date or get a full refund.